Identity
- 17 Feb 2025
- 4 Minutes to read
- Print
- DarkLight
- PDF
Identity
- Updated on 17 Feb 2025
- 4 Minutes to read
- Print
- DarkLight
- PDF
Article summary
Did you find this summary helpful?
Thank you for your feedback
An admin has the ability to create a new workflow for the creation of identities. This includes configuring attributes, defining requester criteria, and adding approvers.
To create an identity workflow:
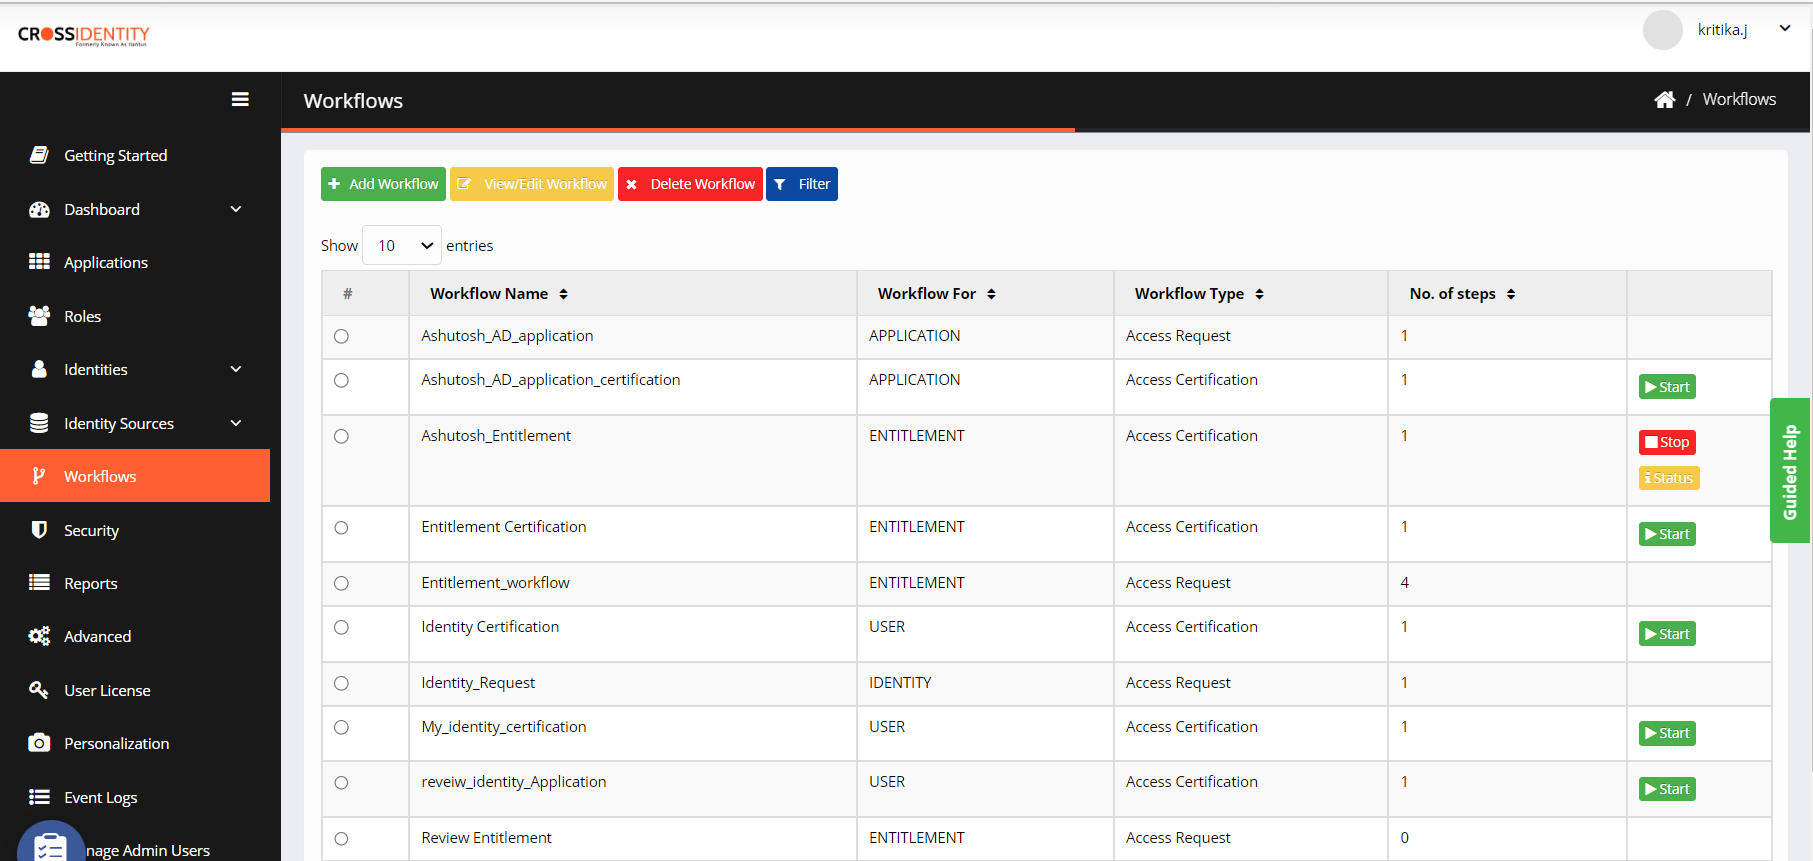
1. Go to Workflow > Add Workflow.
2. Enter the following details:
Workflow Name: Enter the workflow name.
Workflow Type: Select Access-Request from the drop-down.
Workflow For: Choose Identity from the drop-down.

3. Click Add. The Configuration screen appears by default.

4. Select one of the following options:
Suspend access when the time for which access is granted expires: The account will be suspended when the granted access time expires.
Delete access when the time for which access is granted expires: The account will be deleted when the granted access time expires.
5. Click Save.
Target
Click Target > Add Target Attribute.
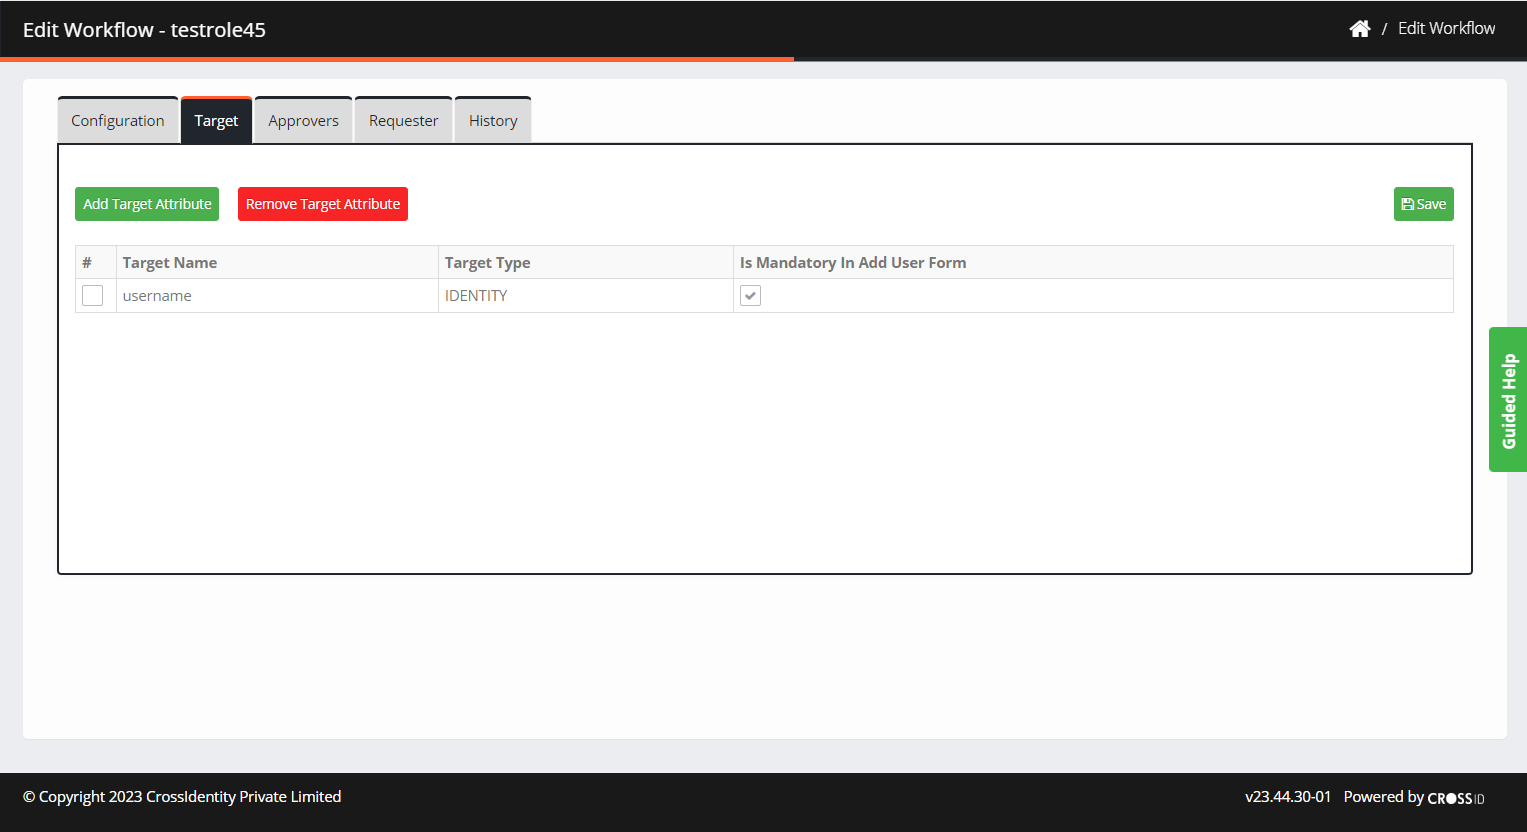
Select attributes of the identity. The username is a default attribute.
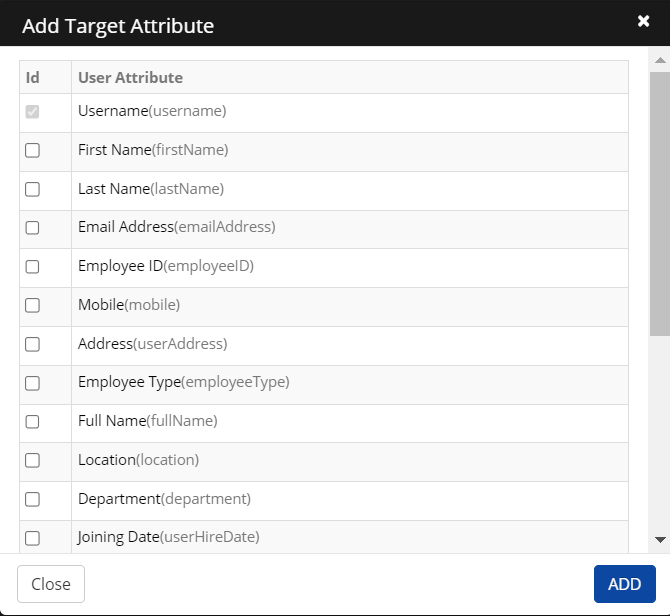
Click Add.
To make certain fields mandatory or optional in the Add User form, select or deselect the corresponding checkboxes under "Is Mandatory in Add User Form".
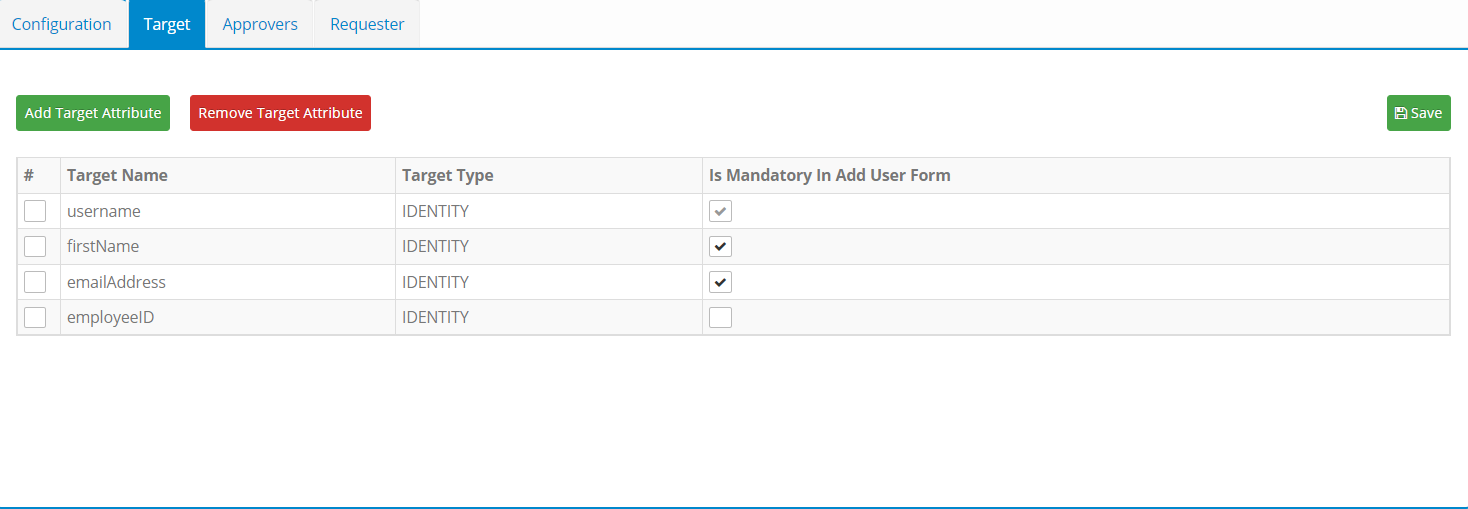
Click Save.


Approvers
Click Approvers.

Auto Approval: You can skip the approval process during the Access request workflow configuration. If the approval process is skipped, the request will automatically be approved.
Select 'Yes' to Auto Approval.Click Add Approver. The Add Approver screen appears.
Enter the approver's name and select the Approver Type (Role, User or Conditional Approver).

User as Approver
Select User as Approver Type.
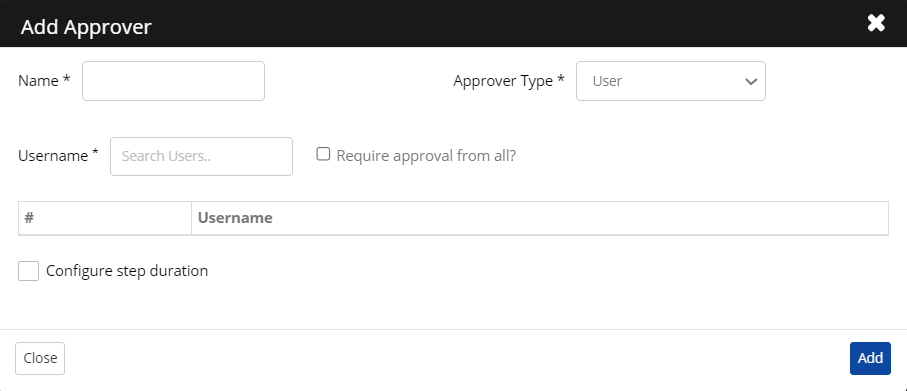
Provide the username you wish to assign as the Approver. In this case, all the users mentioned will have approval authority.
Require approval from all?
If All the selected users need to approve the request.
If not, if any one of the users takes an approval action, the workflow will be completed.
Check the Configure Step Duration to delegate the request to another user if the number of days defined in the Step Duration is exceeded.
Provide the Username to whom the request must be delegated if the number of days exceeds.
Click Add.

Role as Approver
Select Role as Approver Type.
Provide the Role Name that you wish to assign as the Approver. In this case, all the users in that role will have the approval authority.
Require approval from all?
If All the selected users need to approve the request.
If not, if any one of the users takes an approval action, the workflow will be completed.
Check the Configure Step Duration to delegate the request to another user if the number of days defined in the step duration exceeds.
Provide the Username to whom the request must be delegated if the number of days exceeds.
Click Add.
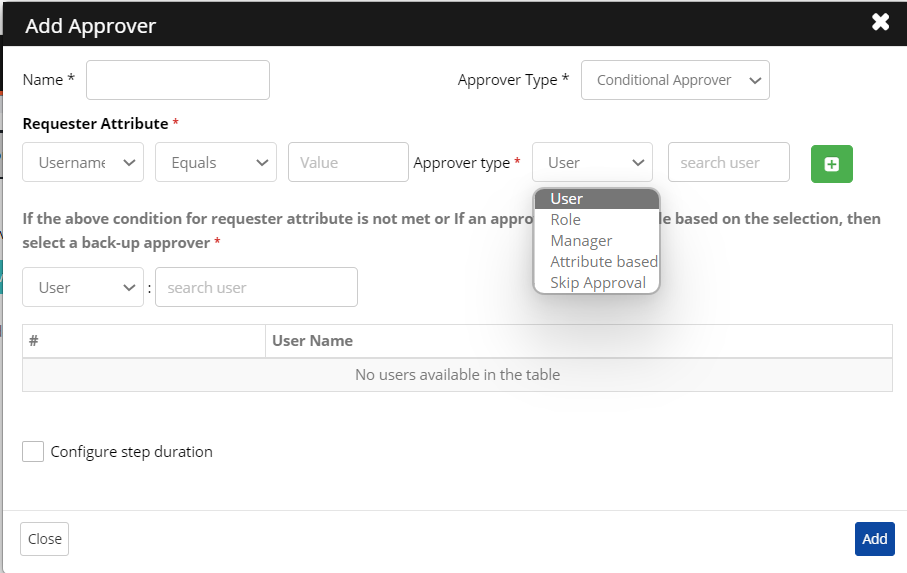
Conditional Approver
A Conditional Approver can be selected as the Approver Type based on the requester's attribute.
As displayed in the following screen, an option to specify Requester will be available by adding User’s attribute with the condition ' Equals to, not Equals to, starts with, Ends with, Greater than, Lesser than, Contains, and a text field for the Attribute value.

After the Requester is defined, you can select the Approver type as User, Role/Manager, Attribute-Based or Skip Approval.
Attribute-basedConditional Approver: Define the approver’s attribute, and this is a mandatory field for at least one row of Approver Condition.
Skip Approval: You must define Requester Attribute. It will skip the approval of that specified attribute and move forward to the next level of approval. You may add multiple requester attributes. Example: In the requester attribute, we put a condition if the Location equals India. The request will not go to the approver if the location is in India. It will skip this step and go to the next level of approval.
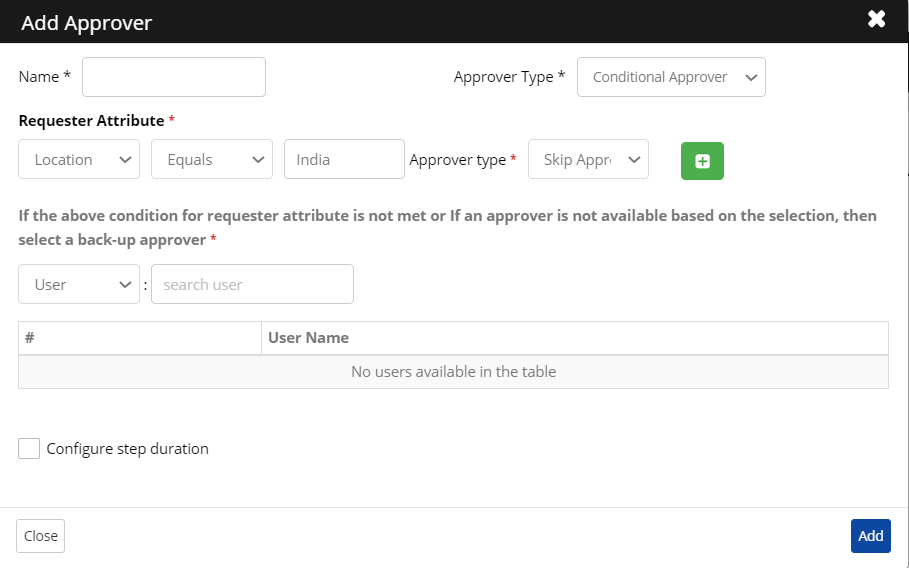
Step Duration (days): Enter the number of days for the current approver to be valid. When the duration exceeds the days entered here, delegate the approval to another user.
Click Add.


Requester
As an administrator, you can allow users to perform the following:
Request access only for themselves,
Request access to their direct reports (as a manager)
Request access for any user in the organization.
To configure the Requester:
Go to Requester > Add Requester.
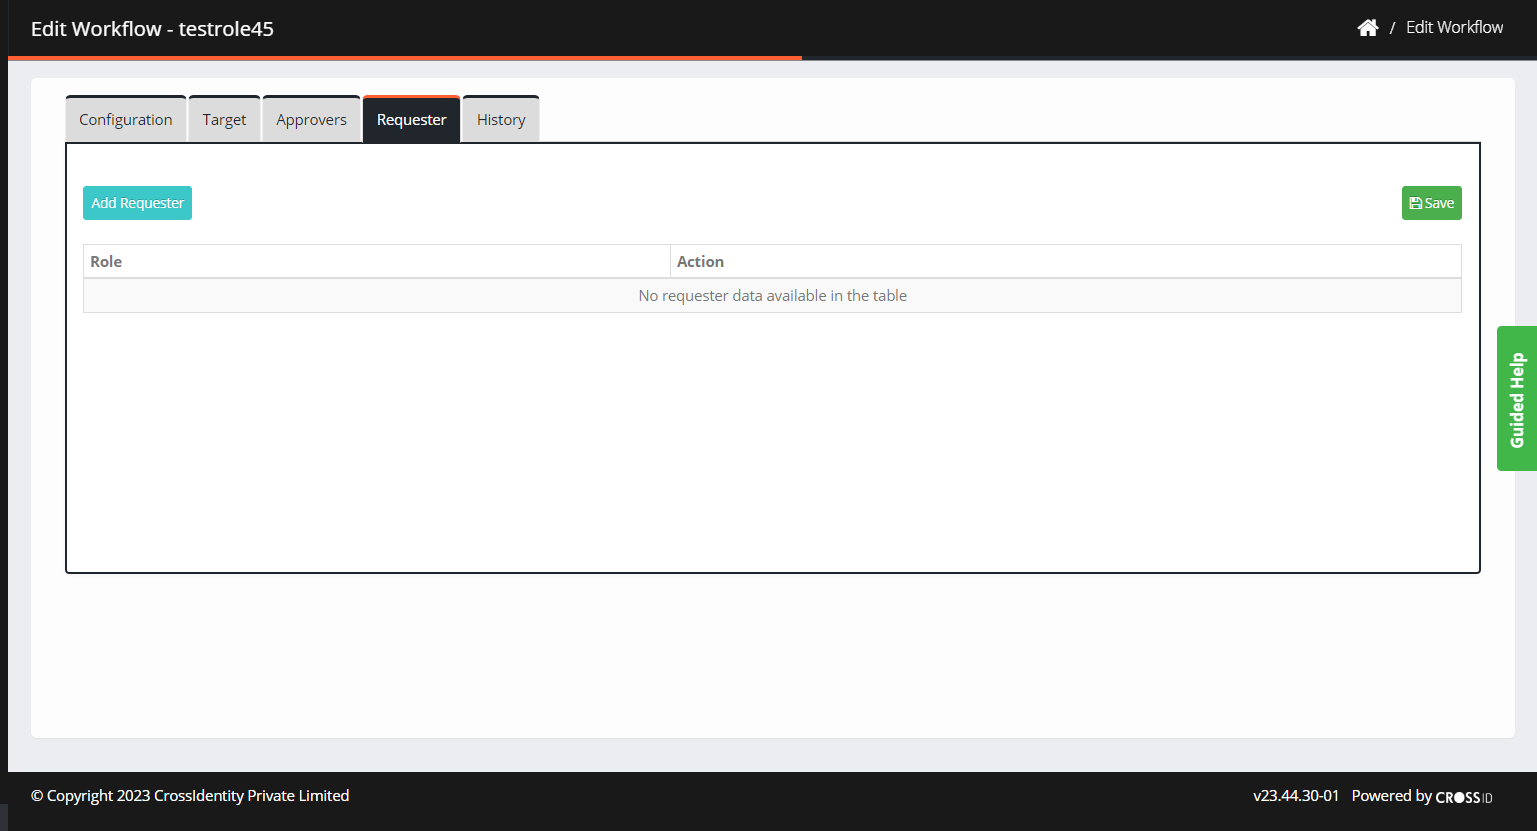
You can add a role(s), so the users present in the defined role will be able to raise a request for the configured Target.
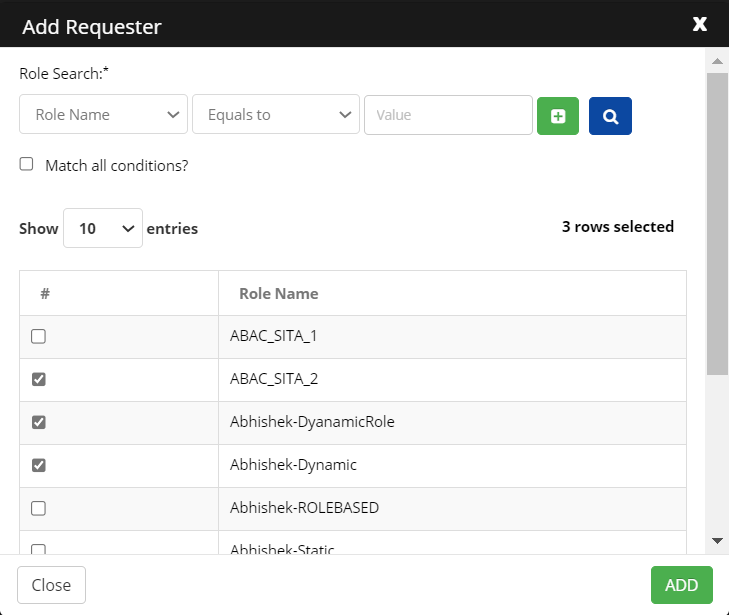
Under Role Search, you can now select any of the following criteria to search for a role from the drop-down selection:
Equals to -The role name must be exactly similar to what is entered in the value field.
Not Equals to - The role name need not be similar to what is entered in the value field.
Starts with - The role name can start with what is entered in the value field.
Ends with - The role name can end with what is entered in the value field.
Contains - The role name can be part of what is entered in the value field.
Match all conditions - Select this checkbox to match all the search criteria.
Select the appropriate role from the output of the search criteria.
Click Add. A "Successfully added roles as requester" confirmation message is displayed.
Against the selected Role, select either of the following:


Request for Direct Reports: If you want to allow a user (as a manager) to request access to their direct reports.
Request for Others: If you want to allow a user to request access for any user in the organization.
History
This tab shows the history of pending, approved and denied requests.
Was this article helpful?
.png)