Configure Smart Client applications
- 16 Feb 2025
- 7 Minutes to read
- Print
- DarkLight
- PDF
Configure Smart Client applications
- Updated on 16 Feb 2025
- 7 Minutes to read
- Print
- DarkLight
- PDF
Article summary
Did you find this summary helpful?
Thank you for your feedback
To configure a Smart client application:
Navigate to Applications from the menu. Click + Add Application.
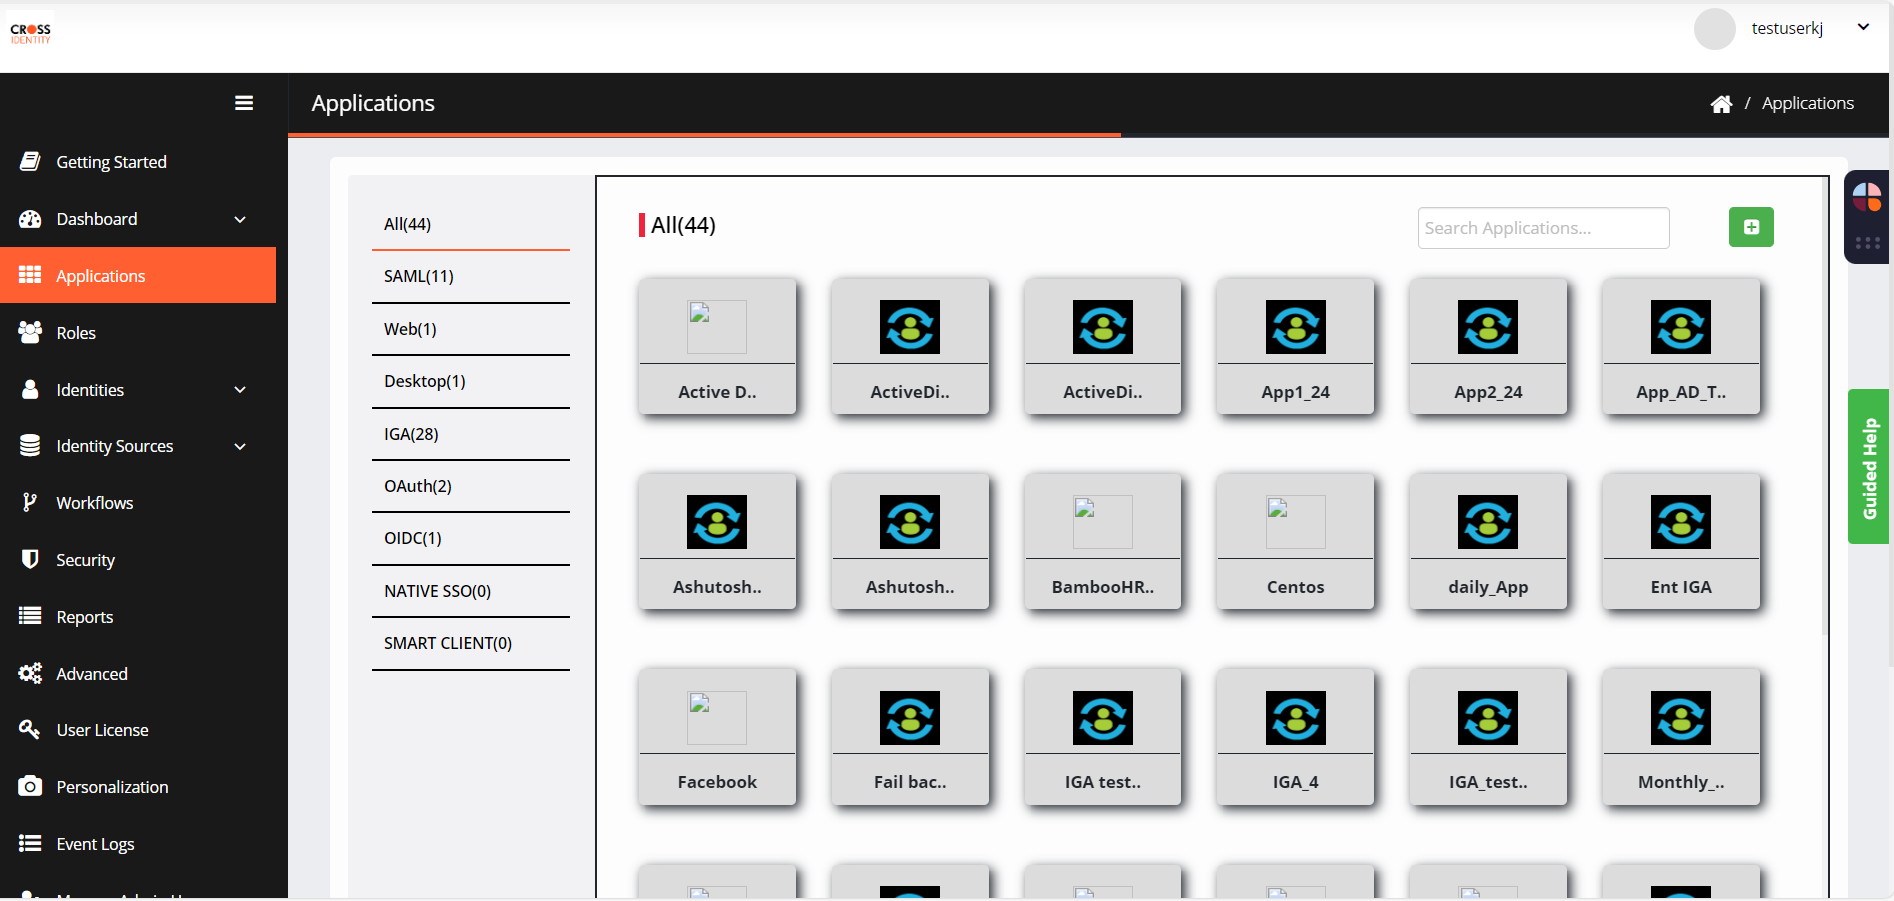
In the AppStore pane, click Smart Client to view apps.

Select the application and it will take you to the Application Configuration page.

Provide the information in the following fields:
Application Name: It is a pre-filled text field. The name can be edited as per requirement.
Application Logo: Upload a logo for the application or select the default available logo on the user's system.
Application URL: The URL provided here will be the web application (App1) to which the user will first log in.
Enable Secure Web Access: Select this option to enable the web access management module of the CI.
Application Executable: The Application executable will be the desktop/ thick client application (App2) to which the user will log in after successful SSO to App1.
Login Elements: Select the determinants of login elements based on their type and value. Only an administrator can set element types:
Set by User: Attribute value set by the user while performing single sign-on to the application for the first time.
Set by Admin: The attribute value an Admin sets will be the same for all the users. (This option is used when all users use the same application service account.)
Directory Attribute: Attribute value defined by the Active Directory.
Click Save. 'An Application updated successfully' confirmation message is displayed.


Application Authorization
You can add roles and users and authorize them to access the applications.
As an administrator, CI allows you to select specific roles authorized to access an application.
To authorize roles, follow the steps:
Navigate to Application Authorization. The application authorization screen is displayed.

Click Authorize Role > Add Role. The Add Role screen is displayed.

Enter a Role Name in the search field
Select a role from the results and then click Add.
The added role is displayed on the screen.


Information:
Based on the role type, it allows the user to select either static or dynamic.
Authorize Users
As an administrator, CI allows only specific users to access the application.
To authorize users, follow the steps:
Click Authorize Users > Add User.

Enter a username in the search field.
Select a user from the results and then click Add.

The added user is displayed on the screen.


Information:
You can remove users from the Remove User tab.
Browser Preference
Cross Identity provides cross-browser support for legacy applications which can be run only on specific browsers. With the help of a cross-browser agent, even though the user is accessing Cross Identity in any browser, SSO for the application will be performed in the specific browser based on the preference selected.
To select browser preference, perform the following steps:
Navigate to Browser Preference.
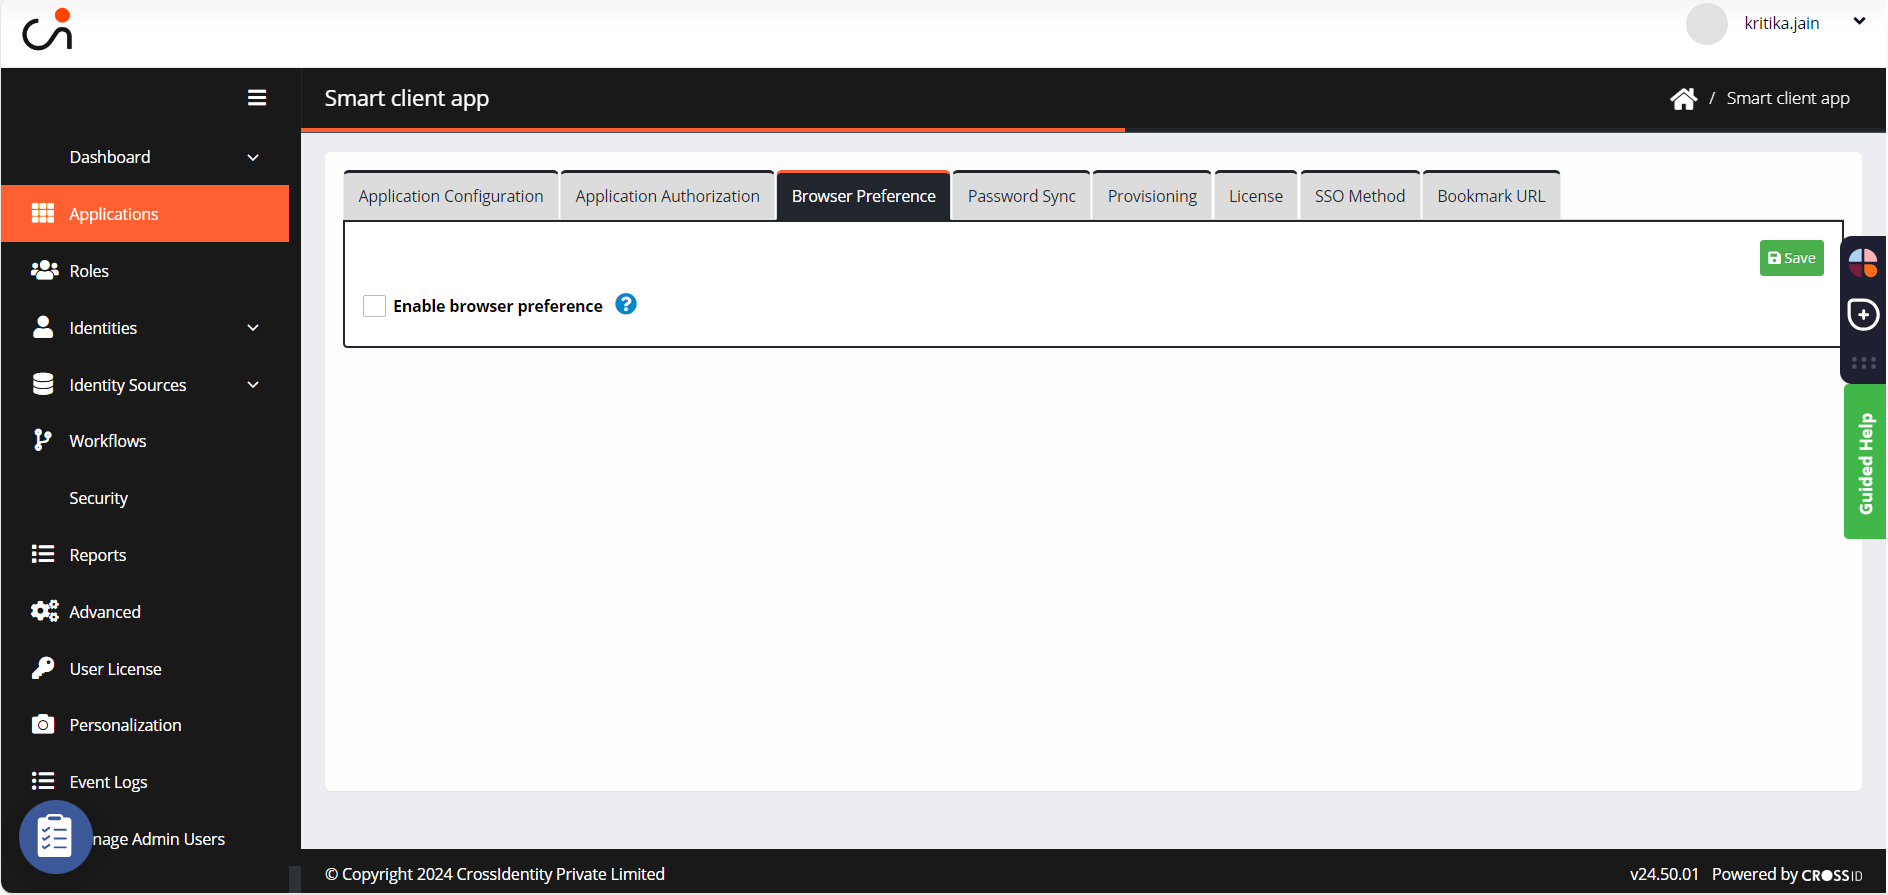
Check the box Enable browser preference. The list of browsers appears to allow the user to select one:
Firefox
Internet Explorer
Chrome
Microsoft Edge

Select your preferred browser to assign a browser to the application.
Click Save.


Password Sync
Password Sync synchronizes new passwords with Cross Identity’s password vault. Whenever users perform SSO to the application, they would not need to update the credentials vault manually.
To enable password sync, perform the following steps:
Navigate to Password Sync.

Check the box Enable password sync? to activate password sync.
Click Save. A “Password sync setting updated successfully” confirmation message is displayed.

Provisioning
You can associate a provisioning application with each Web SSO application. If you have an owned account Provisioning in the provisioning application, the SSO icon of the web application comes up on your SSO launchpad.
To associate the provisioning of an application:
Navigate to Provisioning.

Select Associate a provisioning application. Select the IGA application associated with the provisioning application from the drop-down list.

Click Save. A “Successfully associated provisioning application” confirmation message is displayed.


License
This applies to the pay-per-use model, where the admins can assign a specific number of licenses for use in SSO. This prevents over-utilization of the application.
Navigate to License.
Max. User Licenses: Enter the maximum number of licenses which can be issued to the application.
Application License Price: Enter the price for each license to calculate the total cost and display it on the Consumption Dashboard.

Click Save.

SSO Method
This will apply only if you want Token-Based authentication with a web application.
The SSO method tab contains the following elements:
Navigate to the SSO Method.

Select how single sign-on for this application is to be performed by choosing from the below options:

Password Vaulting & Forwarding
OTP-based authentication will be performed if this option is selected.
Password Vaulting:
CI uses password vaulting and forwarding techniques to perform Single Sign-On to Web Applications, which do not support standards like SAML or OAuth.
The password vault can be configured to use AD/LDAP credentials during the forwarding.
When a user accesses an application for the first time, CI prompts the user to register/store the credentials in the password vault.
The password is encrypted and stored in the vault.
The password vault is stored on the Cross Identity cloud.
When a user accesses the application subsequently, the password from the vault is decrypted and forwarded to the application
Token-based
If this option is selected, token-based authentication will be performed. Refer to Token-Based Integration.
Proxy Server Required?
If this option is selected, the admin must fill in proxy server requirements. This option is not dependent on any other functionality.
Proxy Server: Enter the proxy server.
Proxy Port: Enter the proxy port number.
Configurations for token-based authentication
Follow the steps for token-based authentication in the SSO Method tab:
Token API URL: Enter the token API URL. It is a mandatory parameter.
Request Parameters: This section has an ‘Add’ button to add the required rows for request parameter configuration. On the click of the Add button, a new row will be added to capture the following information:


Parameter Name: This text field captures the request parameter name.
Parameter Type: The drop-down field contains options such as Static Value/User Attribute/Expression. Based on the parameter type selected, the parameter value field will display either textbox/ attribute drop-down/text area.
Parameter Value: This field will display a textbox/attribute drop-down/ text area based on the parameter type selected.
If the parameter type selected is Static Value, a text box will be displayed to enter the static value in this column.
If the parameter type selected is User Attribute, a drop-down will be displayed with this column's list of user attributes.
If the parameter type selected is Expression, then the text area will be displayed in this column to capture the expression.
Notes:
Each row will have a Delete icon to delete the unwanted row.
By default, only one row will be displayed to configure request parameters.
Admin can configure the mode to send the request parameters with the help of the following checkbox options:
Send request parameters in the body: If this option is selected, the configured request parameters will be sent in the request body.
Send request parameters in the header: If this option is selected, the configured request parameters will be sent in the request header with the following additional configurations.
Header Parameter: This section will have an ‘Add’ button to add the required rows to request parameter configuration. On the click of the Add button, a new row will be added to capture the following information:
Parameter Name: This text field captures the request parameter name.
Parameter Type: This drop-down field contains options as Static Value/User Attribute/Expression. Based on the parameter type selected, the parameter value field will display either textbox/attribute drop-down/text area.
Parameter Value: This field will display a textbox/attribute drop-down/ text area based on the parameter type selected.
If the parameter type selected is Static Value, a text box will be displayed to enter the static value in this column.
If the parameter type selected is User Attribute, a drop-down will be displayed with a list of user attributes in this column.
If the parameter type selected is Expression, then the text area will be displayed in this column to capture the expression.
Notes:
Each row will have a Delete icon to delete the unwanted row.
By default, only one row will be displayed to configure request parameters.
4. A checkbox will be made available to the admin user to enable/disable base64 encoding for request parameters with the text ‘Perform Base64 encoding of request parameters’.
5. Response Parameters: This is the section title to capture the details of the response.
Parameter Name: This text box will capture the name of the response parameter received from the token API.
A checkbox will be made available to the admin user to enable/disable base64 encoding for the response parameter with the text ‘Perform Base64 decoding of response parameter’.
6. An option will be made available to the admin user to select how the token should be sent to the application. It will have the following details:
HTTP GET: If this option is selected, the token will be requested with an HTTP GET protocol.
HTTP POST: If this option is selected, the token will be requested with an HTTP POST protocol.
7. Request Parameter Name: This text box will allow the admin user to configure the request parameter name.
8. Click Save.
Bookmark URL
It is an auto-generated one-of-a-kind application URL issued by Cross Identity. This URL allows an end user to bypass the Launchpad and directly enter it into a web browser to access the application.
An admin needs to provide the URL to an end user by email.

Was this article helpful?
.png)