Configure IWA Authentication Policy
- 22 Aug 2023
- 1 Minute to read
- Print
- DarkLight
- PDF
Configure IWA Authentication Policy
- Updated on 22 Aug 2023
- 1 Minute to read
- Print
- DarkLight
- PDF
Article summary
Did you find this summary helpful?
Thank you for your feedback
Follow the steps to configure IWA Policy:
- Login to Cross Identity’s admin portal.
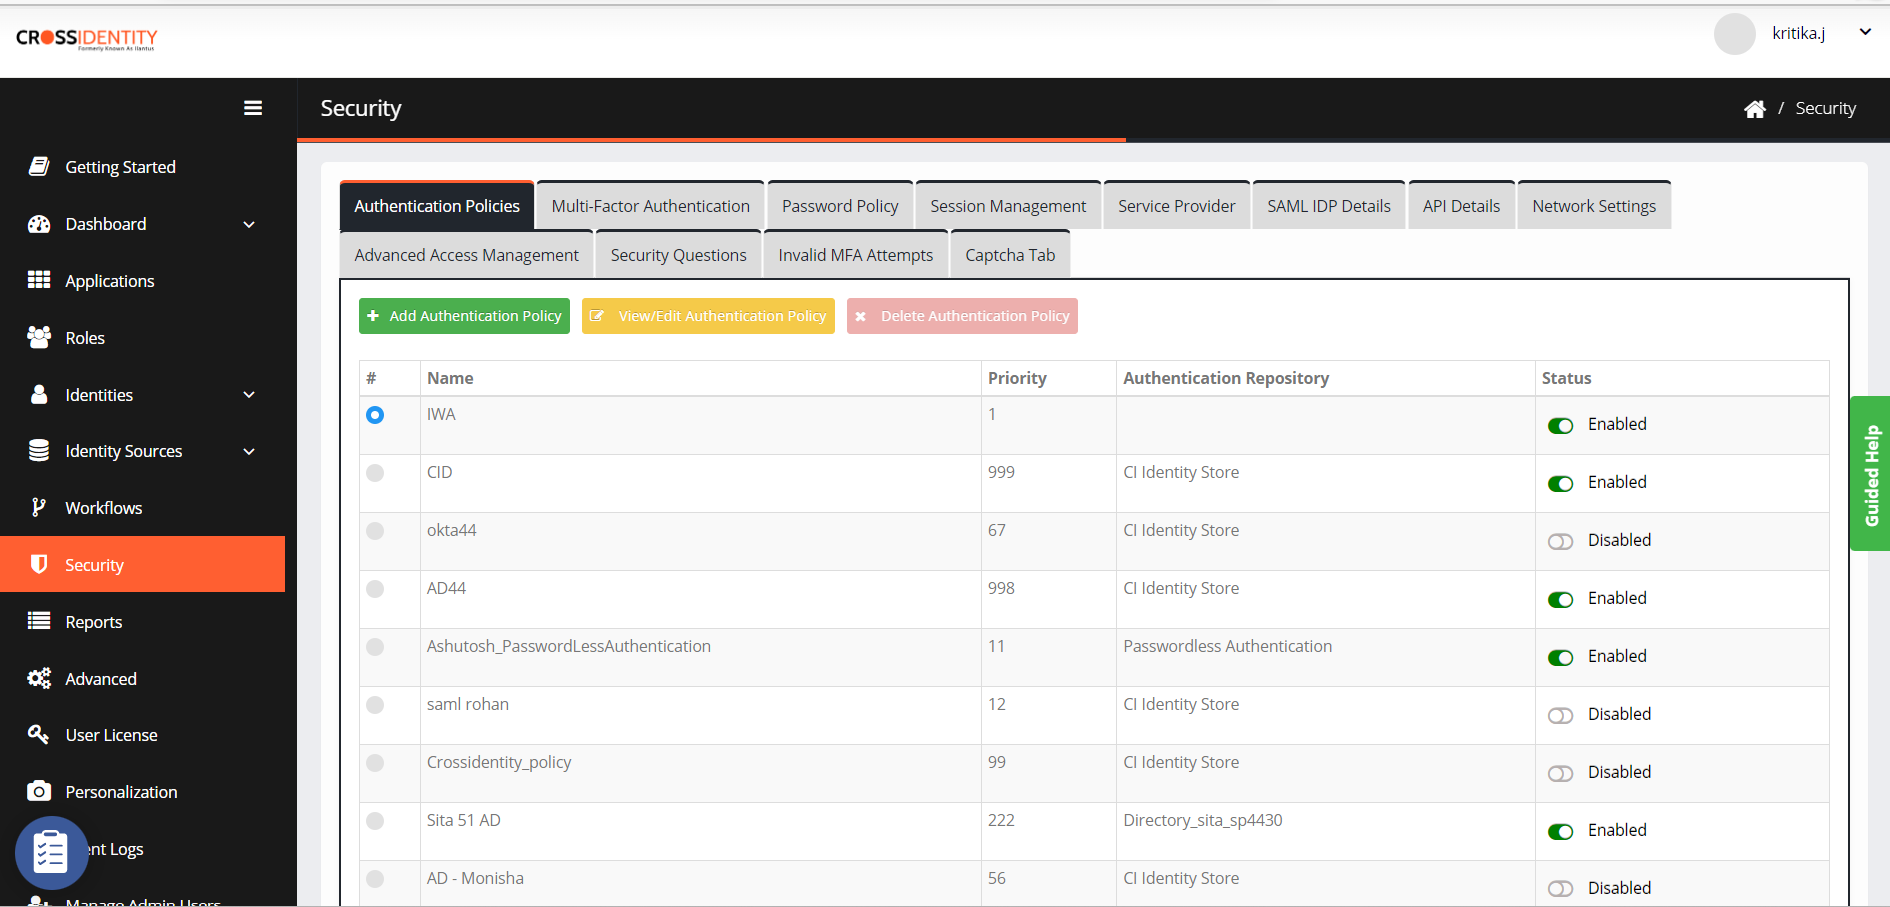
- From the main menu, navigate to Security.
- Under Authentication Policies, select an IWA Policy and click View/Edit Authentication Policy.

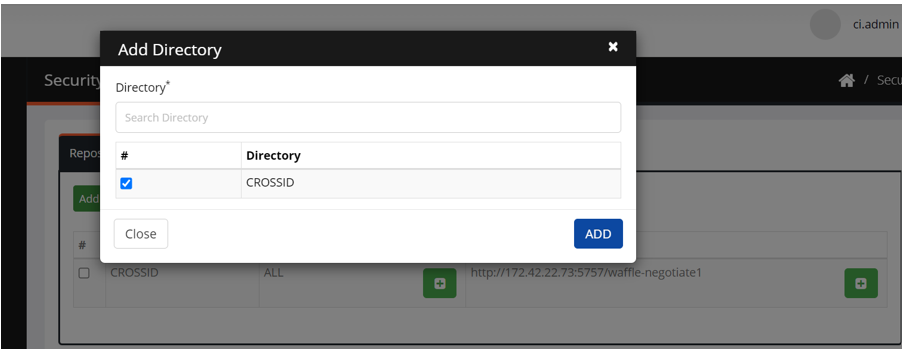
- Add Directory in the IWA Repository Configuration.

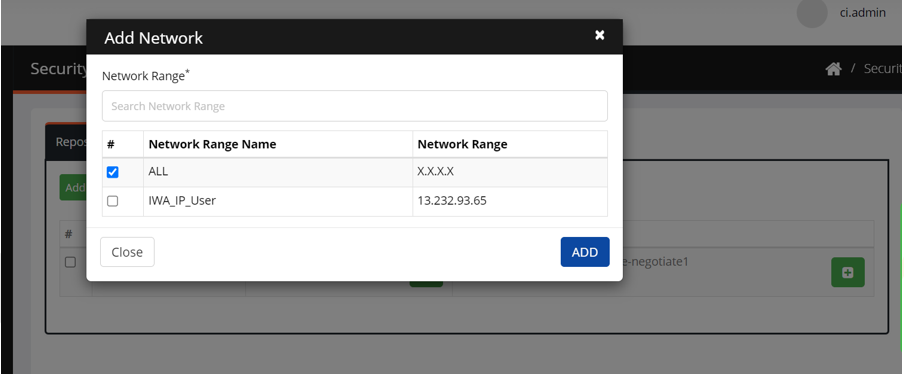
- Click Add Network and provide the IP Range that should be considered for the IWA Authentication Policy.

- After configuring the policy, go back to the Authentication Policies tab and enable the IWA policy.
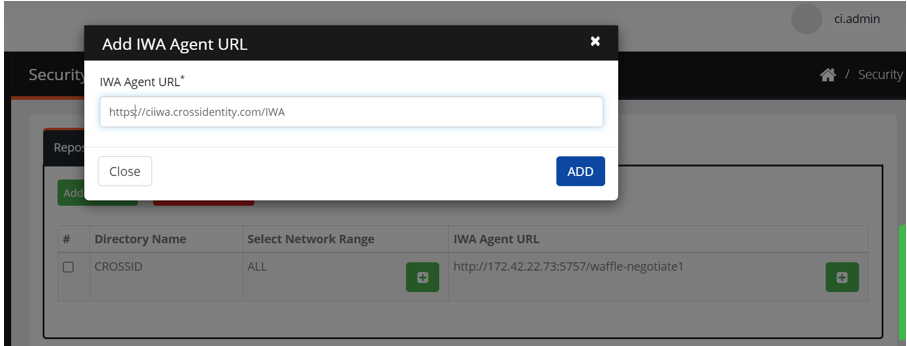
- Provide the IWA Agent URL. Example: <TenantURL>/IWA and click Add.

Was this article helpful?
.png)


.png)