- 09 May 2024
- 1 Minute to read
- Print
- DarkLight
- PDF
Application Attributes
- Updated on 09 May 2024
- 1 Minute to read
- Print
- DarkLight
- PDF
Additional attributes can be added, edited, or deleted for Applications, Accounts and Entitlements.
Add attributes
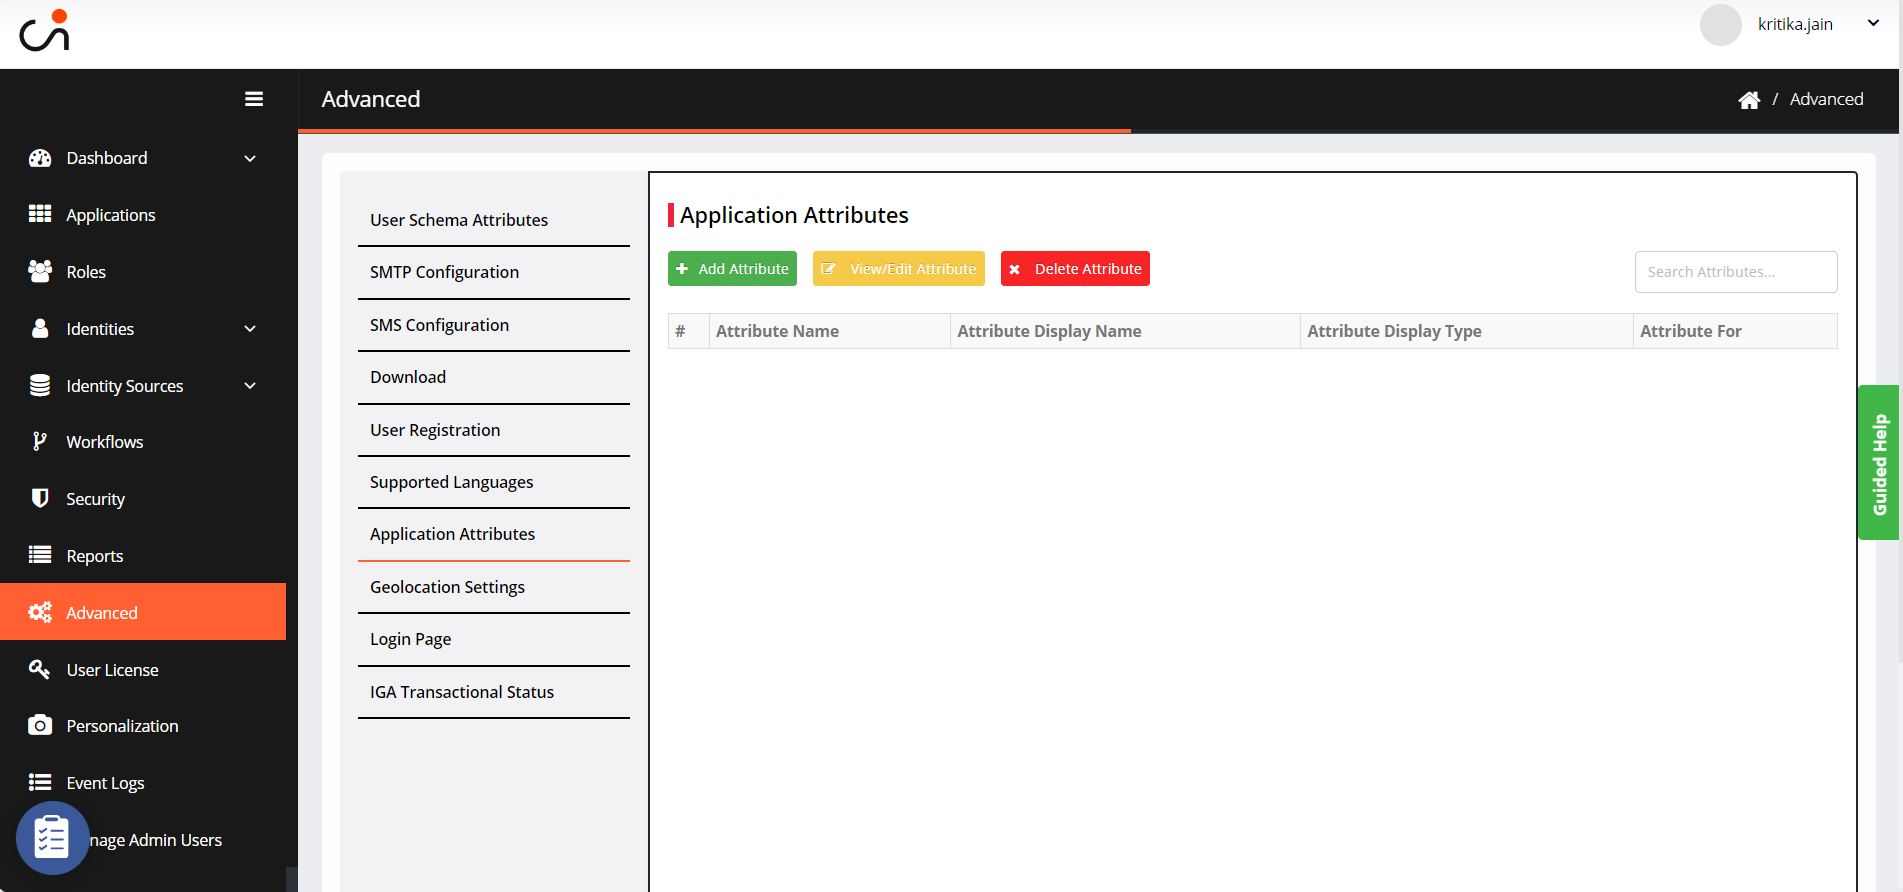
Navigate to Advanced > Application Attribute.

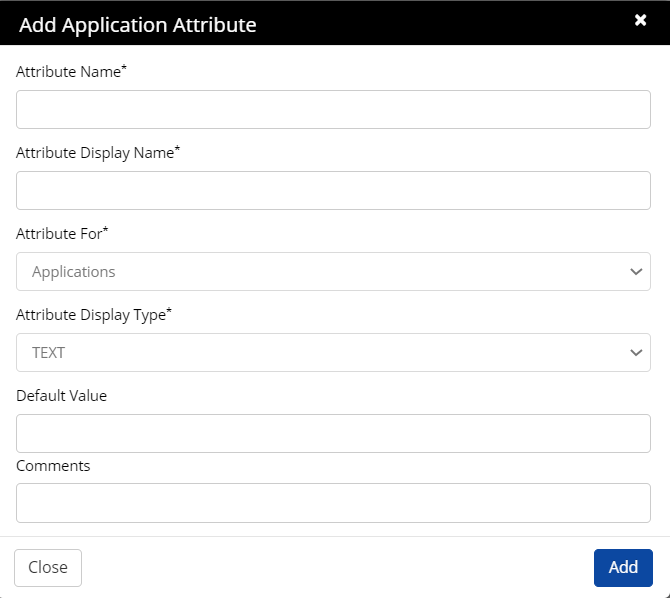
Click Add Attribute. The Add Application Attribute screen appears.

Complete these fields:
Attribute Name: Enter the attribute name.
Attribute Display Name: Enter a user-friendly display name.
Attribute For: Select Applications, Accounts or Entitlements from a drop-down list for which you want to apply the attributes.
Attribute Display Type: Select display type from the drop-down list.
Dropdown: Select this attribute to accept the input as text.
Text: Select this attribute to accept the input as text
Password: Select this attribute to accept the input as a text password
Checkbox: Select this attribute to accept the input as a multiple-checkbox selection
Radio: Select this attribute to accept the input as a radio button.
List: Select this attribute to accept the input as a list.
Text area: Select this attribute to accept the input as descriptive text.
Date: Select this attribute to accept the input as a date.
Email: Select this attribute to accept the input as an email.
Each drop-down has different fields to enter.
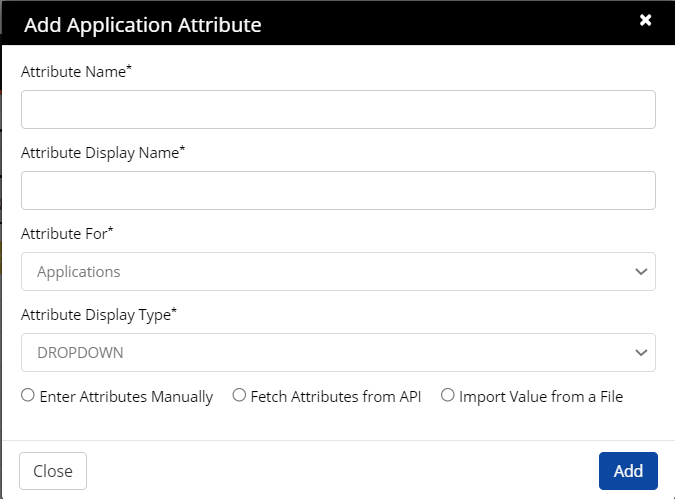
Below screen will appear only for the Dropdown and List options. Here, you can choose whether to Enter Attributes Manually, Fetch Attributes from API or Import Value from a file.

Click Add.
View or Edit and Delete attributes
1. On Application Attribute, select an attribute to edit and click View/Edit Attribute.
2. You can edit Attribute Display Name and Default Value.
3. Click Update.
.png)


.png)