Identity
- 18 Feb 2025
- 3 Minutes to read
- Print
- DarkLight
- PDF
Identity
- Updated on 18 Feb 2025
- 3 Minutes to read
- Print
- DarkLight
- PDF
Article summary
Did you find this summary helpful?
Thank you for your feedback
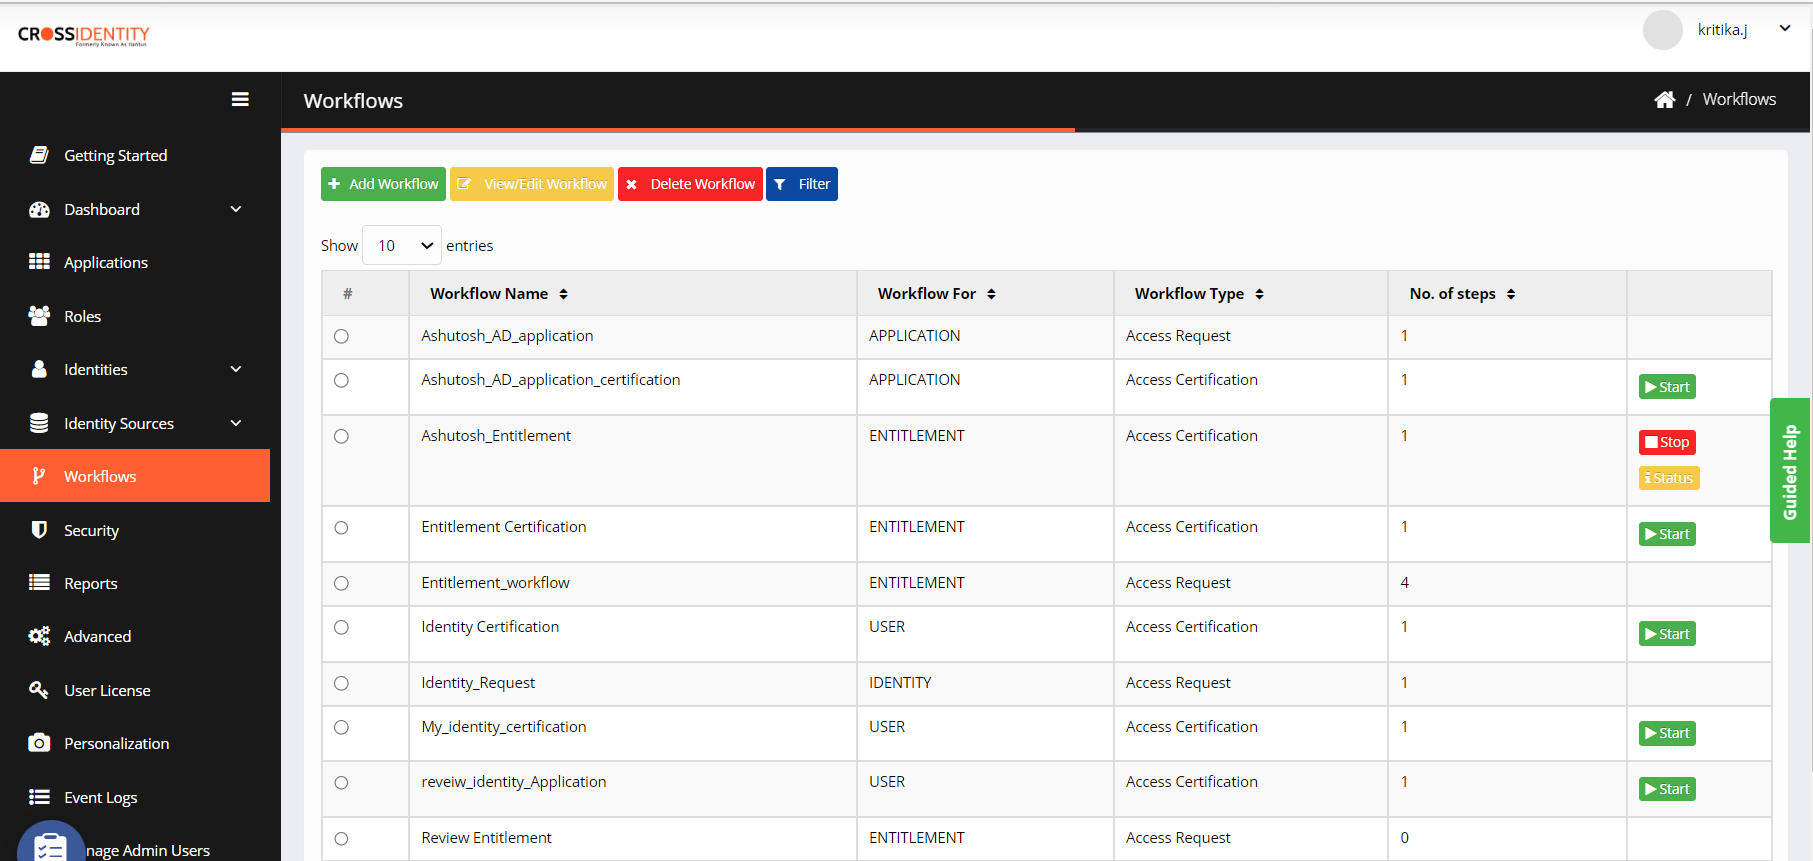
Add a Workflow
Go to Workflow > Add Workflow.
On the add workflow screen, enter the following details:

Workflow Name: Enter a Workflow Name.
Workflow Type: Choose Workflow Flow Type as Access Certification.
Workflow For: Choose User from the drop-down.
Click ADD.
The Configuration screen appears by default.
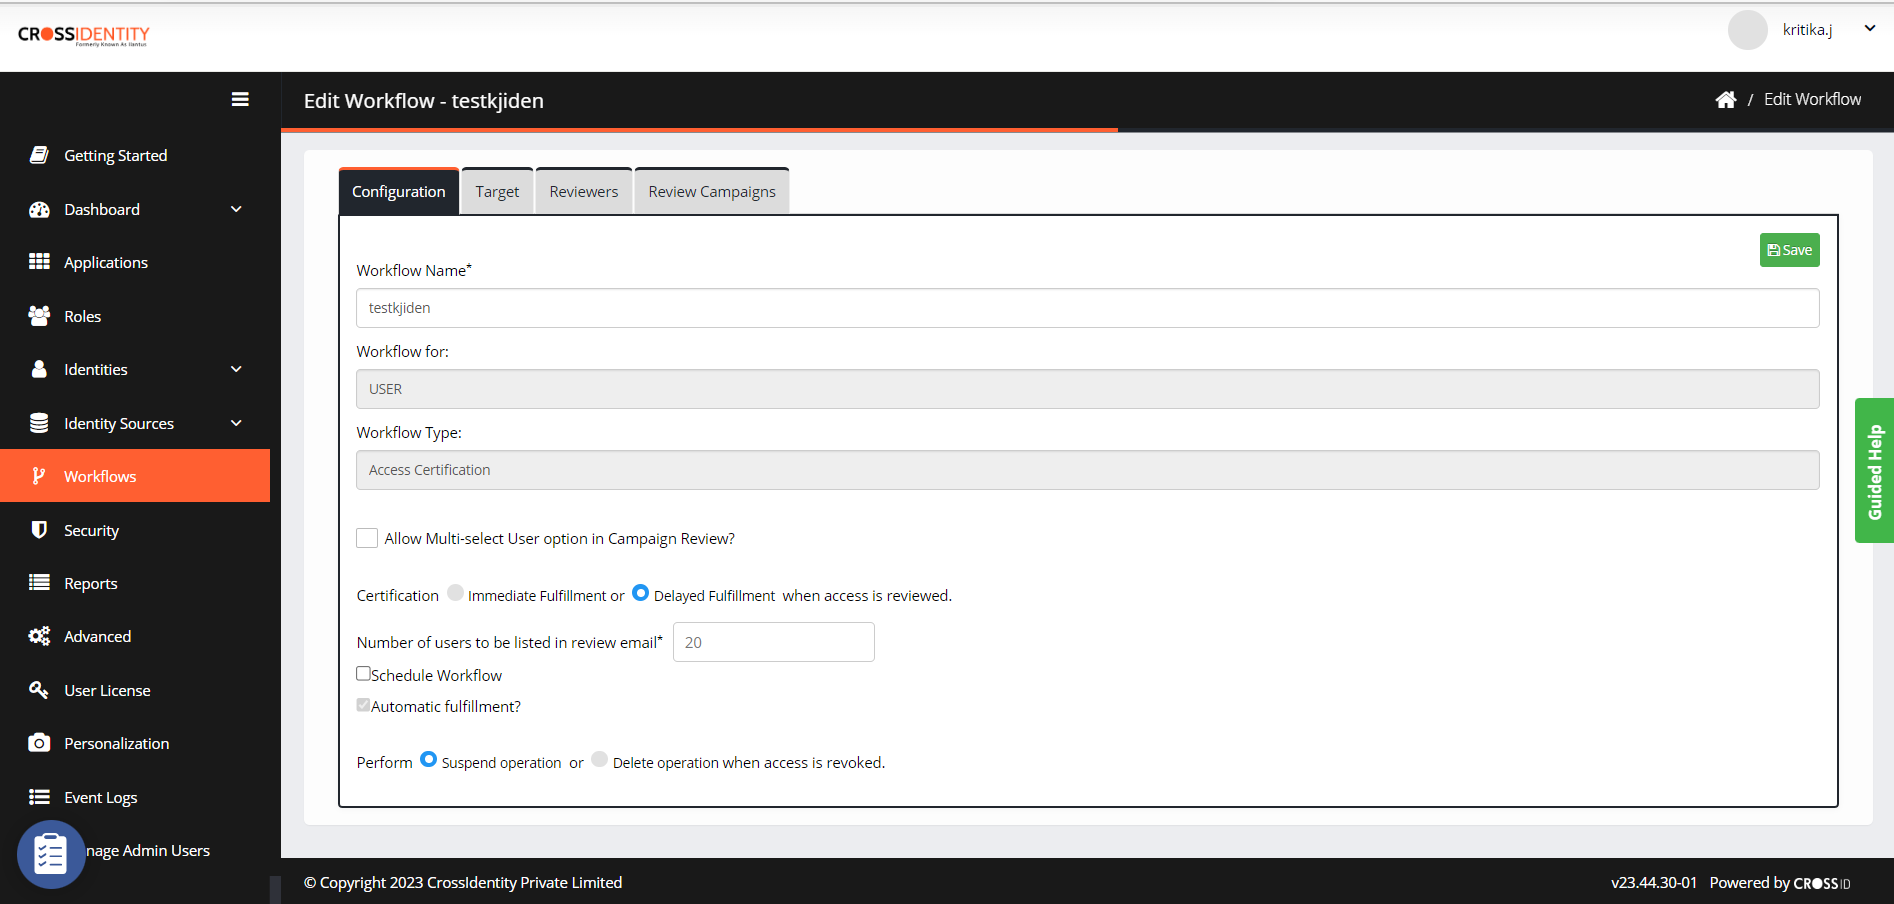
Select the following checkboxes:
Allow Multi-select User option in Campaign Review: Select this box to select multiple users for a campaign. Check boxes against each user will be displayed in the review list. If you uncheck this box, check boxes against each user will be disabled.
Immediate Fulfillment Certification: Select this option if you want the fulfilment immediately after completing the campaign.
Delayed Fulfillment Certification: Select this option to postpone fulfilment certifying a User/Role/Application/entitlement during a campaign.
The number of users to be listed in the review email: Enter the number of users listed in the email notification to a reviewer.
Schedule Workflow: Select this check box to schedule a campaign periodically, that is, weekly, monthly, etc., with the date and time set.
Automatic fulfilment: Select this option if you want the system to act on the fulfilment process when access is revoked automatically.
Perform Suspend operation: Select this option to suspend access when access is revoked.
Perform Delete operation: Select this option to delete access when access is revoked.
Click Save.


Add a Target
Click Target > Add Target.

Provide the following details:
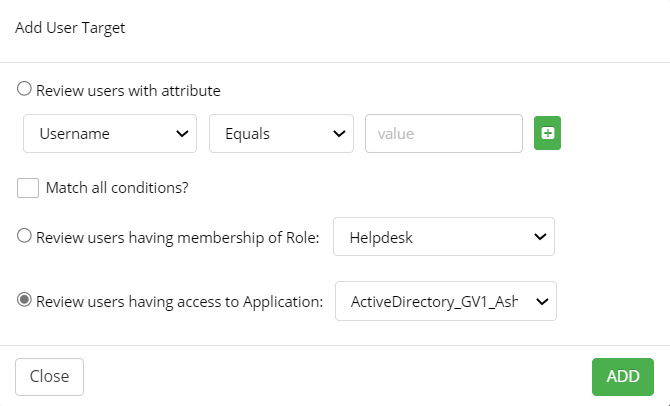
Review user with attribute: Select this option and choose an attribute to be reviewed from the drop-down. Also, choose the condition against the attribute. You can add multiple attributes by clicking +.
If there are multiple attributes, check the Match All conditions box if you want all conditions to match, as stated above.
Review users having membership of Role: Select this option if you want to review all users having membership in a role.
Review users having access to the Application: Select this option if you want to review all users accessing a selected application.
Click Add.


Add a reviewer
Click Reviewers > Add Reviewer.
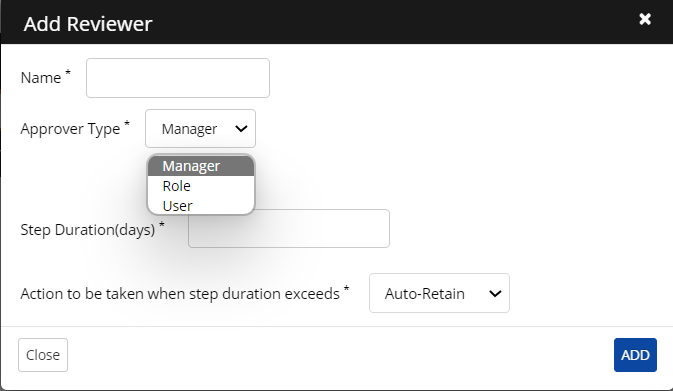
Enter the name of the Reviewer and the Approver Type.
Approver type as Manager: Select the approver type from the drop-down menu. Once selected, the approver will receive the mail containing a list of users for whom the campaign should be done. The manager can log in to the end user portal, check the review task, and can take action either can retain or revoke the user's access.
Step Duration: Configure the number of days after which the automatic option of Retain or Revoke will be taken.
Action to be taken when step duration exceeds: Enter the action to be taken when the step duration exceeds the number of days. Either Auto-Retain or Revoke.
Approver type as Role: Select the approver type from the drop-down menu and enter the role. The approver will receive a mail that contains the list of users for whom the campaign should be done. Users who are part of the role can log in to the end user portal, check the review task, and can take action either can retain or revoke users’ access.
Role: Search for the role.
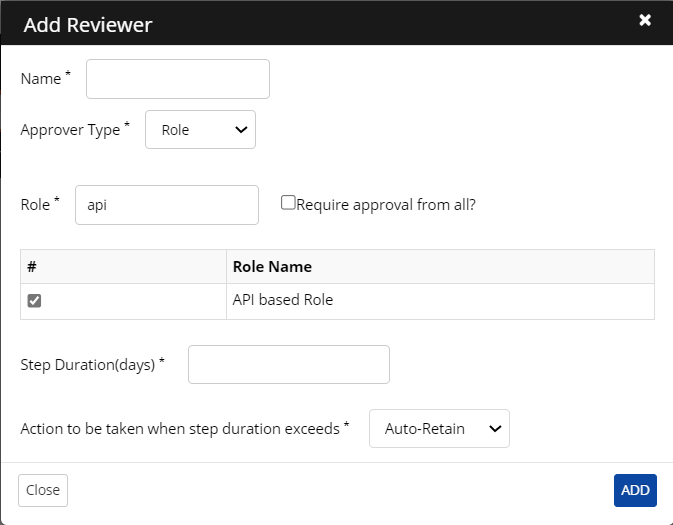
Required Approval from All: Enable this option when multiple roles must be reviewed, and approval is needed from all of them.
Step Duration: Enter the number of days in Step Duration.
Action to be taken when step duration exceeds: Enter the action to be taken when the step duration exceeds the number of days. Either Auto-Retain or Revoke.
c. Approver type as User: Select the approver type from the drop-down menu and provide the username. The approver will receive the mail containing a list of users for whom the campaign should be done. The user mentioned in the approver tab can log in to the end user portal, check the review task, and take action to either retain or revoke the user's access.
Required Approval from all: This option can be enabled if you want all the users present in the selected role must take action to either Retain/ Revoke the configured Target.
Step Duration: Configure the number of days after which the automatic option of Retain or Revoke will be taken.
Action to be taken when step duration exceeds: Enter the action to be taken when the step duration exceeds the number of days. Either Auto-Retain or Revoke.
3. Click Add.


Review Campaign
Here all the campaign details will be captured, including Campaign ID, Start Time, End Time, and Status of the campaign.
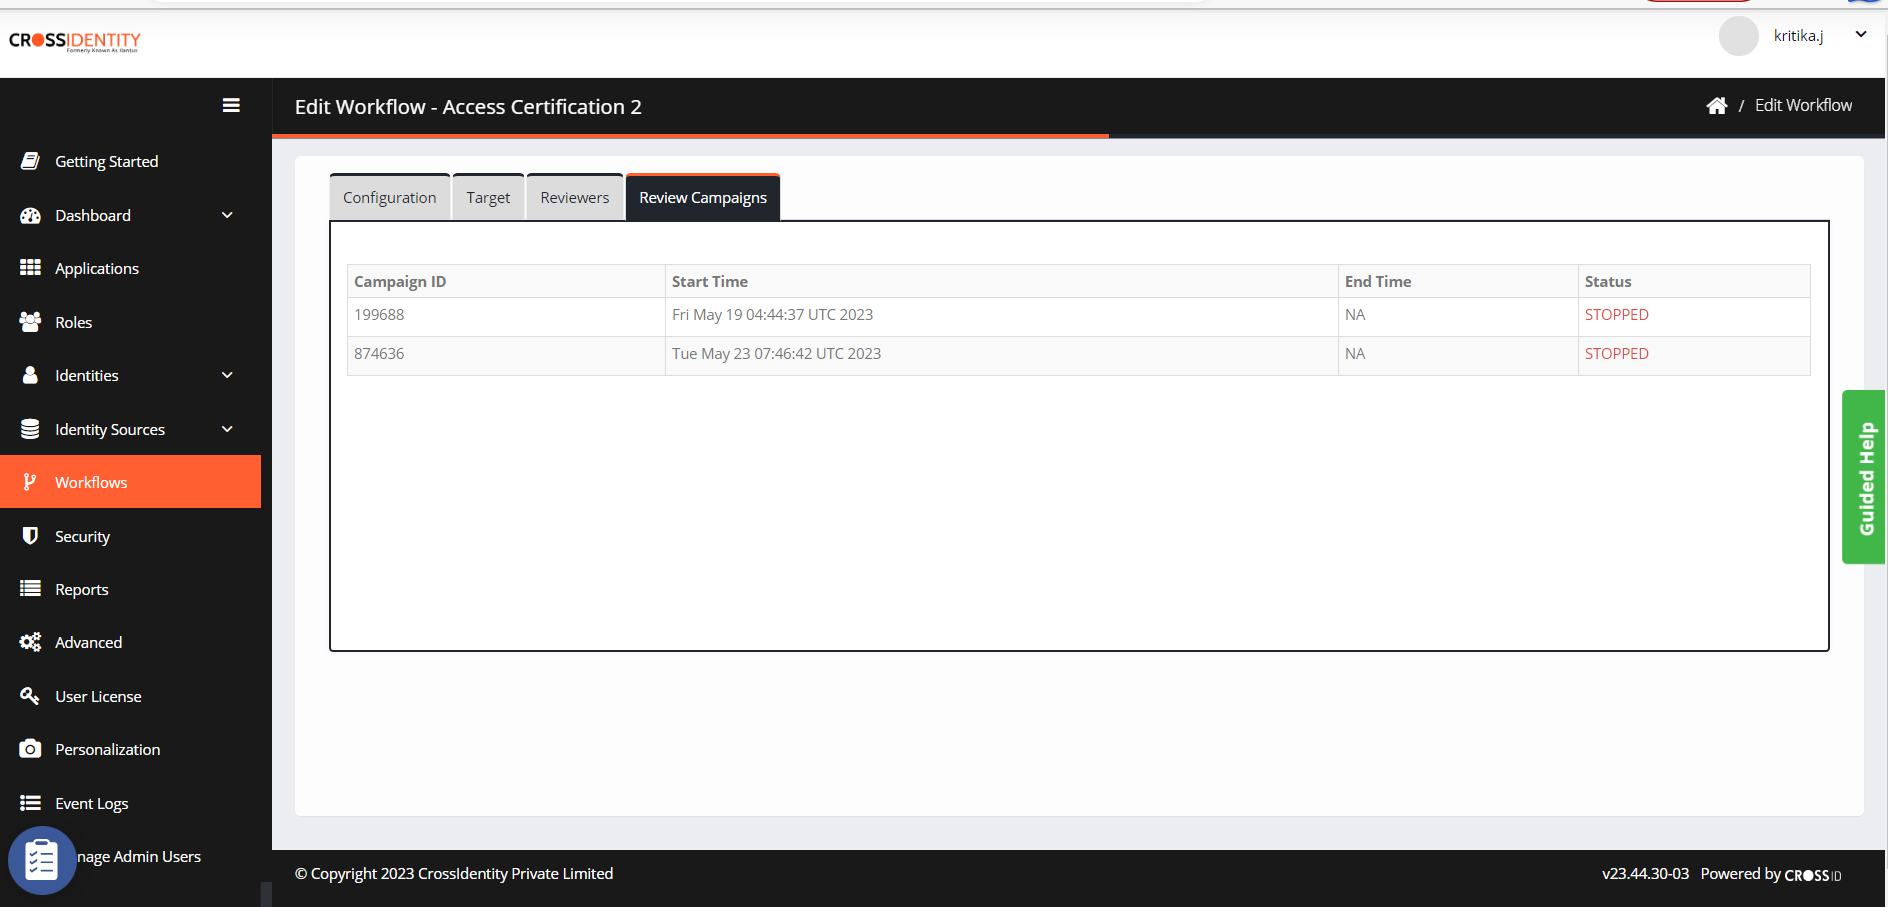
Campaigns that are completed have the View Details button where you can view the complete details of a campaign and download the report.

Was this article helpful?
.png)