- 14 Feb 2025
- 3 Minutes to read
- Print
- DarkLight
- PDF
Configure Thick-Client applications
- Updated on 14 Feb 2025
- 3 Minutes to read
- Print
- DarkLight
- PDF
The thick client applications, or Desktop applications, are installed on the user’s machine.
Cross identity supports SSO in handling thick client applications with the help of a thick client agent. The agent must be installed on the user’s machine to perform credential injection into the login fields.
Configure a thick client-based application:
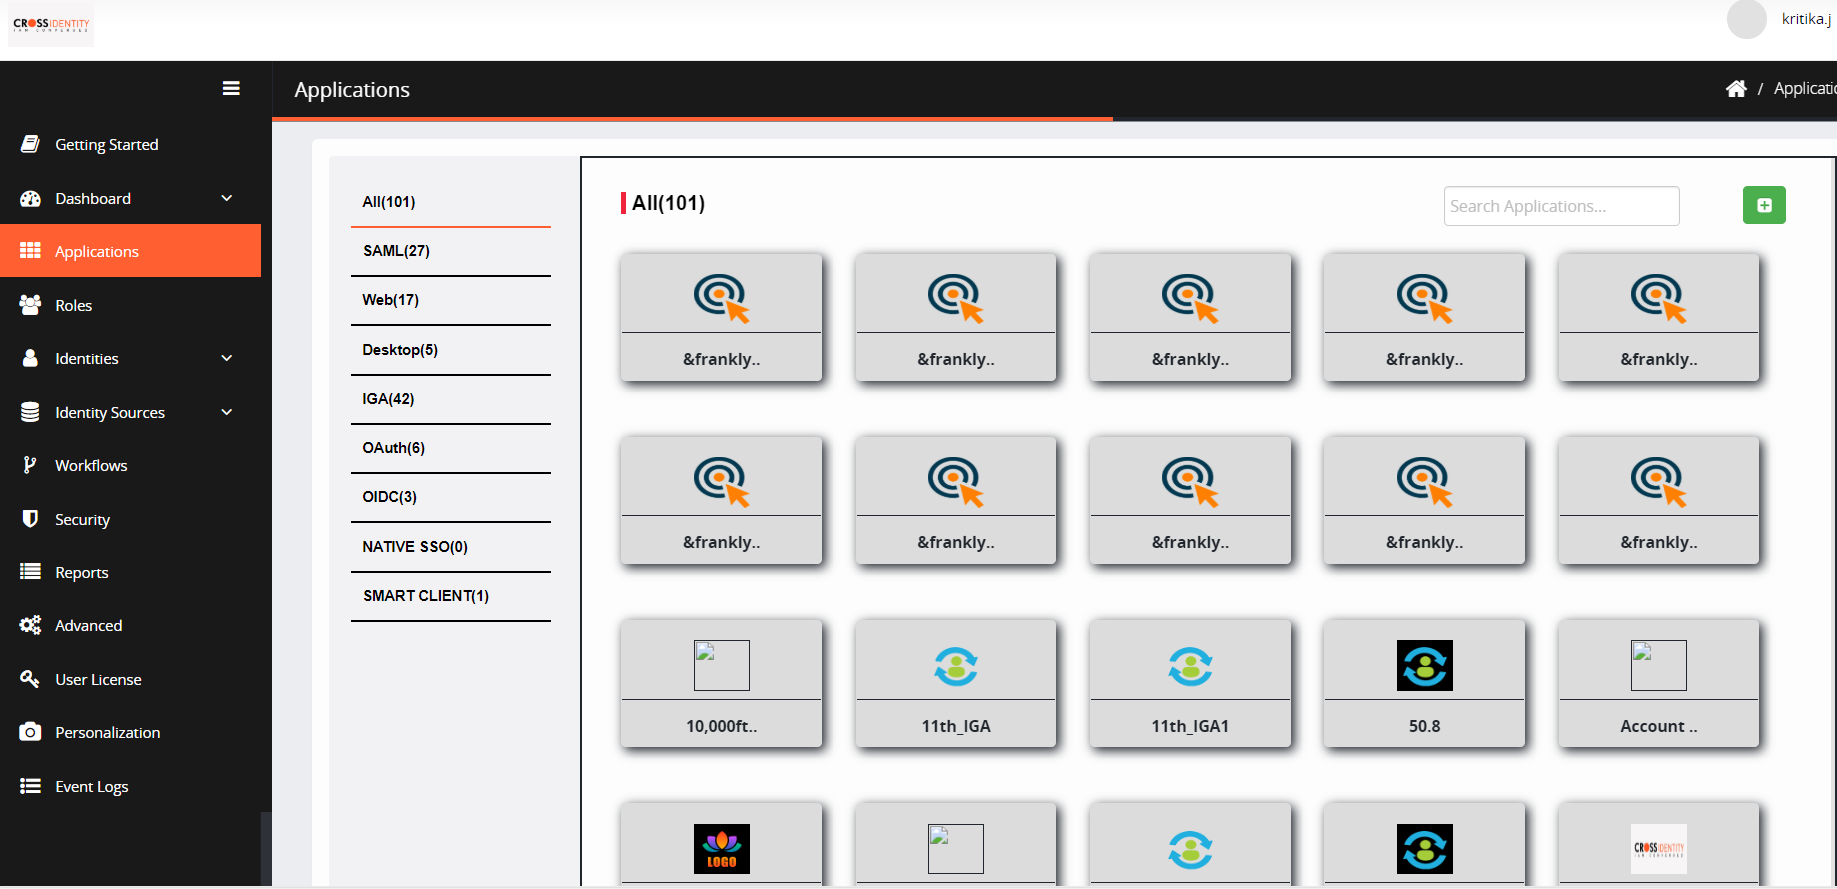
Navigate to Applications from the menu. Click + Add Application.
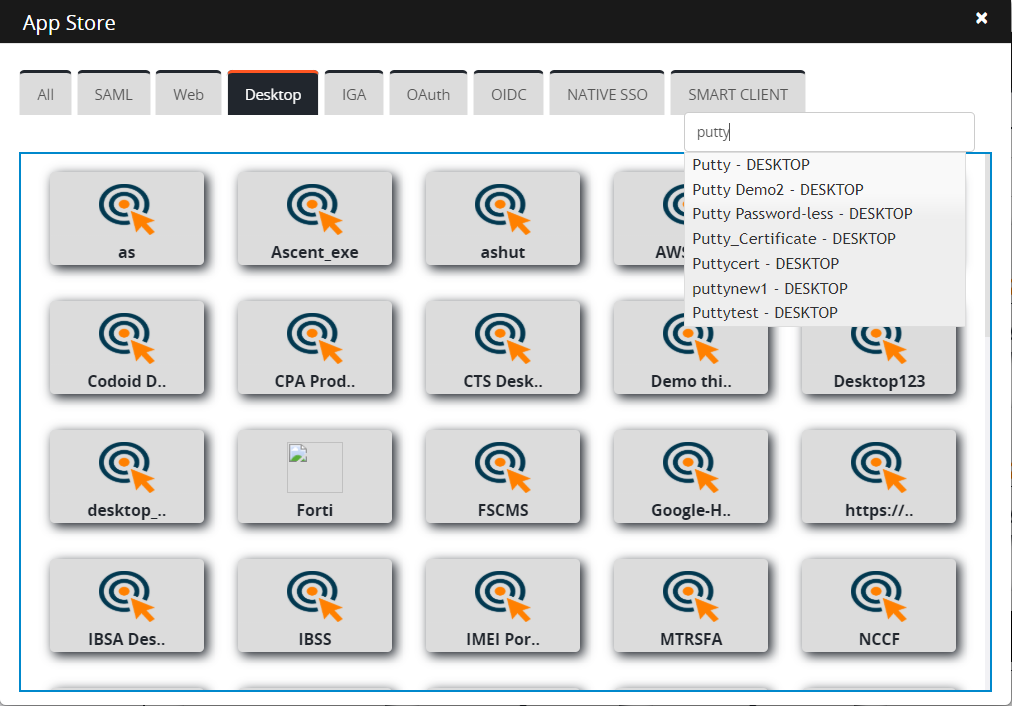
In the AppStore pane, click Desktop to view thick client applications. Example- Putty.
Once the application is added, you will be redirected to the Application Configuration page.
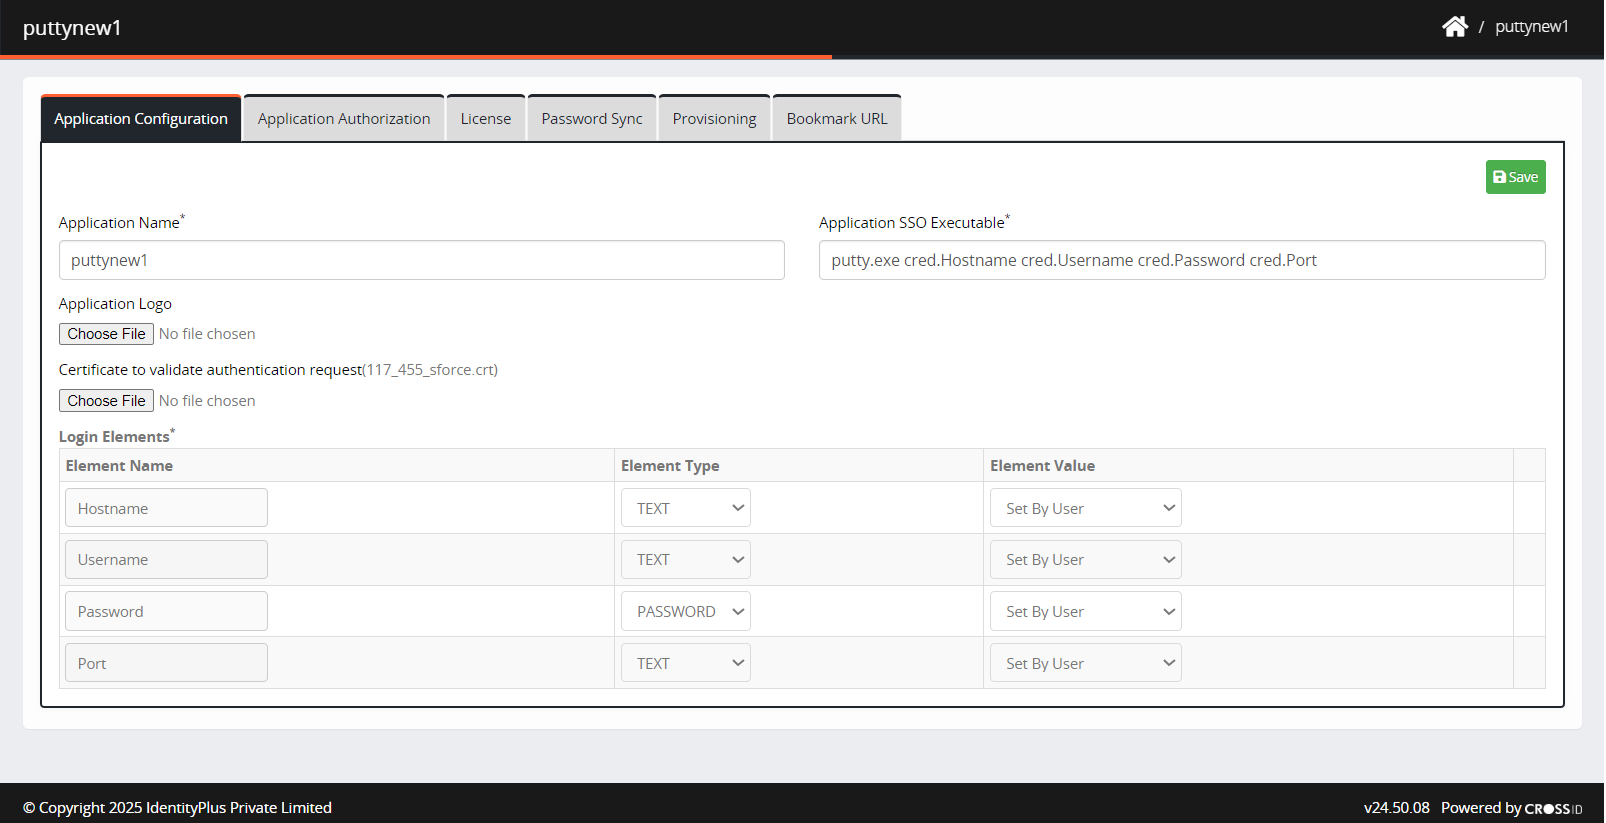
Application Name: It is a pre-filled text field. The name can be edited as per requirement.
Application Logo: Upload the application logo if you want to change the existing one. It supports PNG & JPEG formats.
Certificate to validate authentication request: Select the certificate to validate the authentication request.
Login Elements: Select the determinants of login elements based on their type and value. Only an administrator can set element types:
Set by User: Attribute value set by the user while performing single sign-on to the application for the first time.
Set by Admin: The attribute value an Admin sets will be the same for all the users. (This option is used when all users use the same application service account.)
Directory Attribute: Attribute value defined by the Active Directory.
Application SSO Executable: For CI to call the respective desktop application and perform SSO, we must set up the application in our system along with CID executables. The CI Extension will call these to open that specific application and pass the credentials to that application.
The below figure shows the different executables for applications like Putty, SAP, and Tiamo installed in the System to perform SSO.

Click Save. An "Application updated successfully" confirmation message is displayed.
Click Close.
Application Authorization
An Administrator can authorize this application to respective users and roles.
Authorize Role
As an administrator, CI allows you to select specific roles authorized to access an application.
To authorize roles, perform the following steps:
Navigate to Application Authorization. The application authorization screen is displayed.

Click Authorize Role > Add Role. The Add Role screen is displayed.
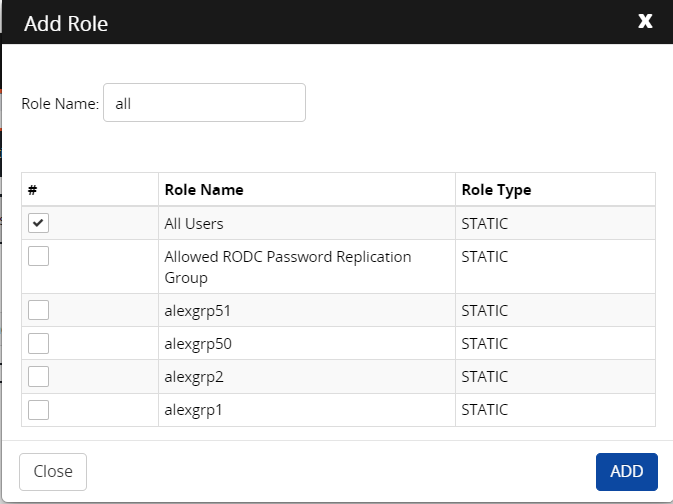
Enter a Role Name in the search field.
Select a role from the results and then click Add.
The added role is displayed on the screen.
Information:
Based on the role type, it allows the user to select either static or dynamic.
Authorize Users
As an administrator, CI allows only specific users to access the application.
To authorize users, perform the following steps:
Click Authorize Users > Add User.

Enter a username in the search field.
Select a user from the results and then click Add.
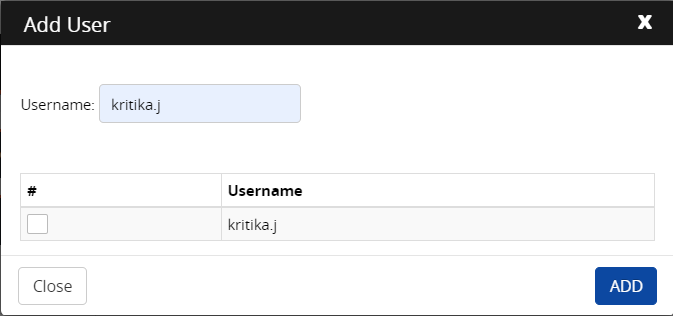
The added user is displayed on the screen.
Information:
You can remove users from the Remove User tab.
License
This applies to the pay-per-use model, where the admins can assign a specific number of licenses for use in SSO. This prevents over-utilization of the application.
Navigate to License.
Max. User Licenses: Enter the maximum number of licenses which can be issued to the application.
Application License Price: Enter the price for each license to calculate the total cost and it is available on the Consumption Dashboard.

Click Save.
Password Sync
Password Sync synchronizes new passwords with Cross Identity’s password vault. Whenever a user performs SSO to the application, they would not need to manually update the credentials vault. The new password will be synced directly to provide a seamless Single Sign-on experience.
To enable password sync, follow the steps:
Navigate to Password Sync.

Check the box Enable password sync? to activate password sync.
Click Save. A “Password sync setting updated successfully” confirmation message is displayed
Provisioning
You can associate a provisioning application with each Desktop SSO application to authorize users of the Provisioning Application to this SSO App.
If you have an owned account in the provisioning application, the SSO icon of the Thick-Client comes up on your SSO launchpad.
To associate the provisioning of an application:
Navigate to Provisioning.

Select Associate, a provisioning application. Select the IGA application associated with the Provisioning Application from the drop-down list.
Click Save. A “Successfully associated provisioning application” confirmation message is displayed.
Bookmark URL
It is an auto-generated one-of-a-kind application URL issued by Cross Identity. This URL allows an end user to bypass the Launchpad and directly enter it into a web browser to access the application.
An admin needs to provide the URL to an end user by email.
.png)


.png)