How to add custom domain in Office365
- 30 Jan 2024
- 1 Minute to read
- Print
- DarkLight
- PDF
How to add custom domain in Office365
- Updated on 30 Jan 2024
- 1 Minute to read
- Print
- DarkLight
- PDF
Article summary
Did you find this summary helpful?
Thank you for your feedback
Below are the steps to set up a test domain on Office365 Subscription for SAML Integration testing:
- Create a domain in the DNS Server Provider
- Add the new domain in Office365
- Update the above MX record on the DNS Service Provider
- Connect the domain and complete the process in Office365.
Create a domain in the DNS Server Provider
Go to “GoDaady”, one of the popular Domain Registration vendors and select the domain that you need.

Once the availability of the selected domain is confirmed, add it to the cart and purchase the domain.
Purchased Domain Name: ilantusuat.com
Add the new domain in Office365
- Login to the Office365 Admin portal and add the new domain name below.
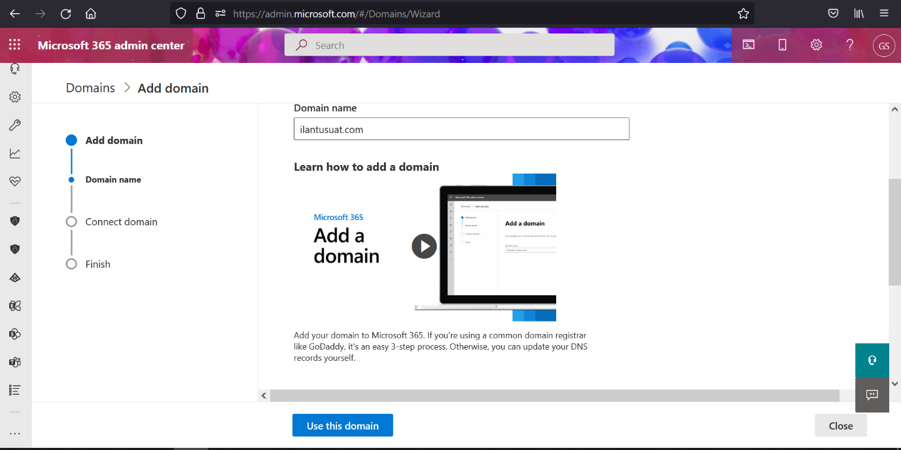
- Click Use this domain.
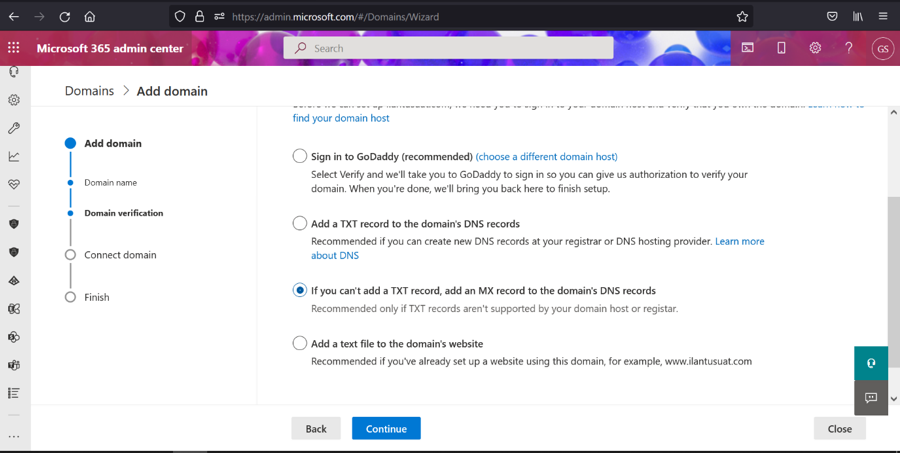
- Click Continue.
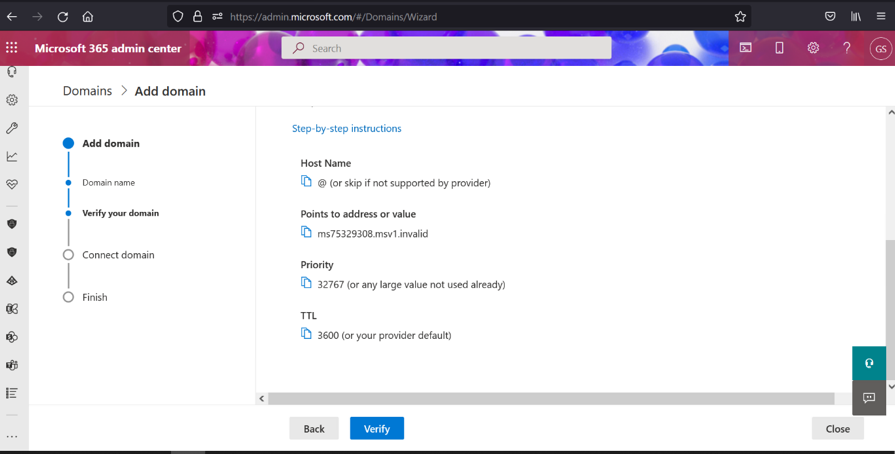
Copy these values:
MX Record:
Host: @
Value: ms75329308.msv1.invalid
Priority: 32767 (or any large value not used already
TTL:3600
Update the above MX record on the DNS Service Provider
- Login to GoDaddy and select the newly created domain from “My Products”. Click on the “DNS” menu and select “Managed Zones” as below:
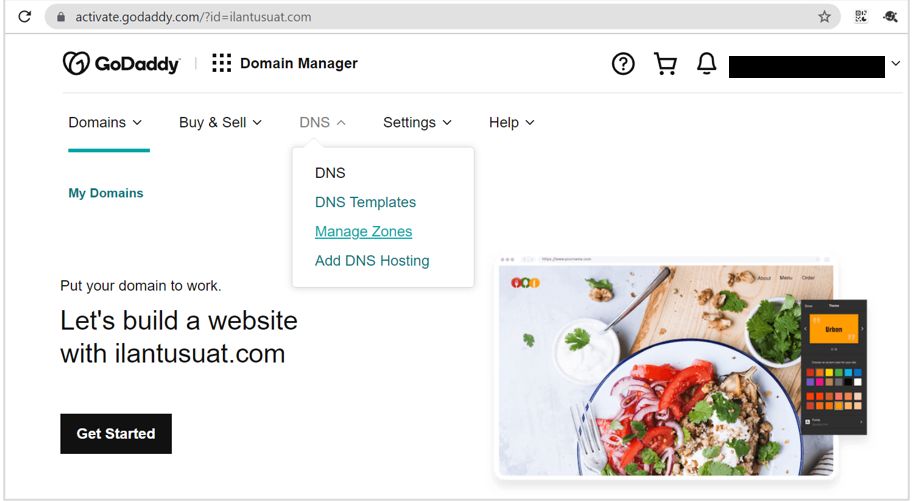
- Search for the new domain.
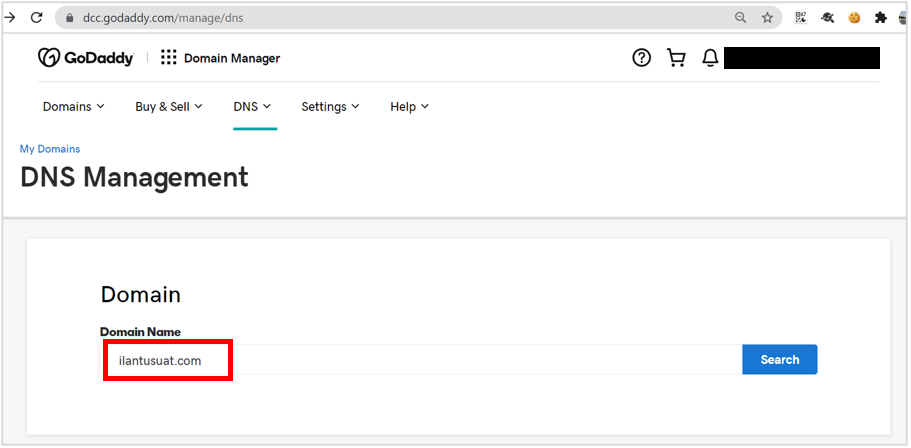
- It shows the below screen:
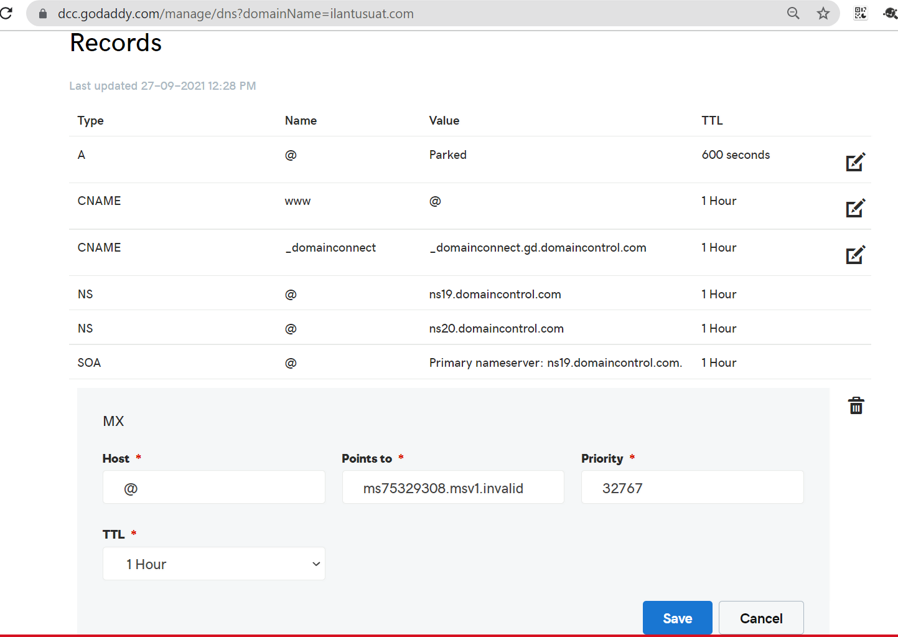
- Add the MX record details (which you collected from the previous step) and save the information.
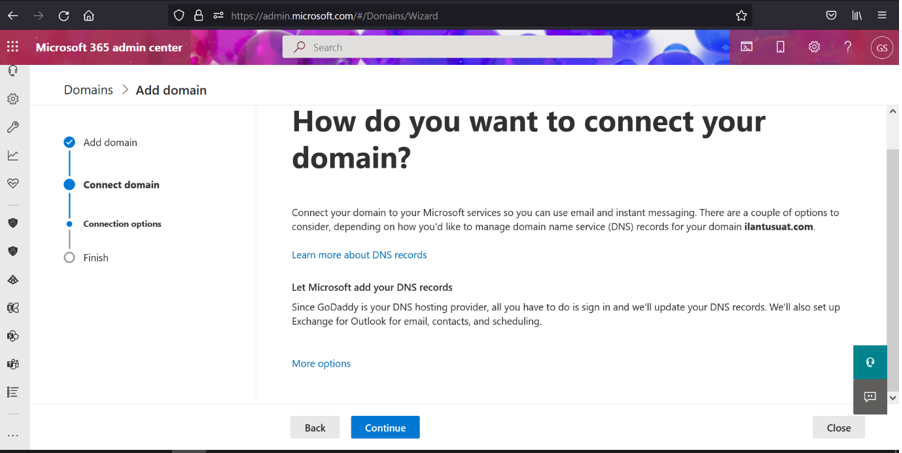
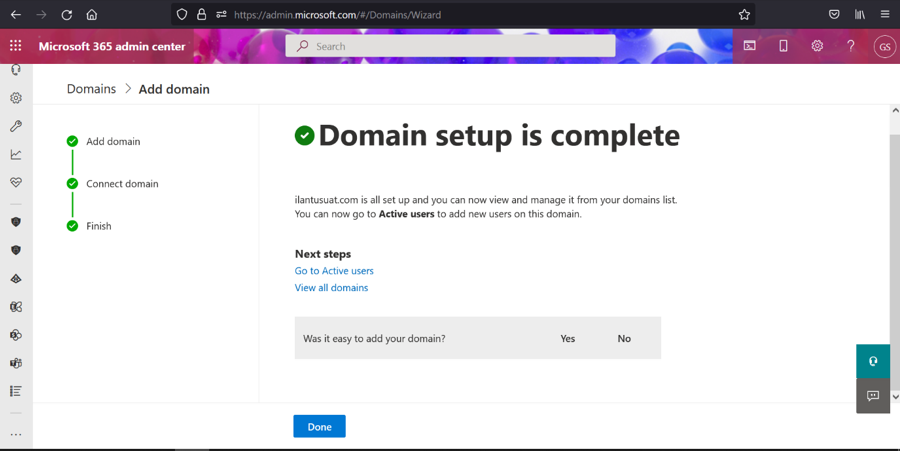
- Connect the domain and complete the process
Was this article helpful?
.png)


.png)