Create a Dynamic Role
- 16 May 2024
- 2 Minutes to read
- Print
- DarkLight
- PDF
Create a Dynamic Role
- Updated on 16 May 2024
- 2 Minutes to read
- Print
- DarkLight
- PDF
Article summary
Did you find this summary helpful?
Thank you for your feedback
In the Dynamic role, users are added by their Attribute Condition. We can add multiple attributes and use AND/OR conditions to differentiate and add to the role.
Create a Dynamic Role
Navigate to Roles from the menu.
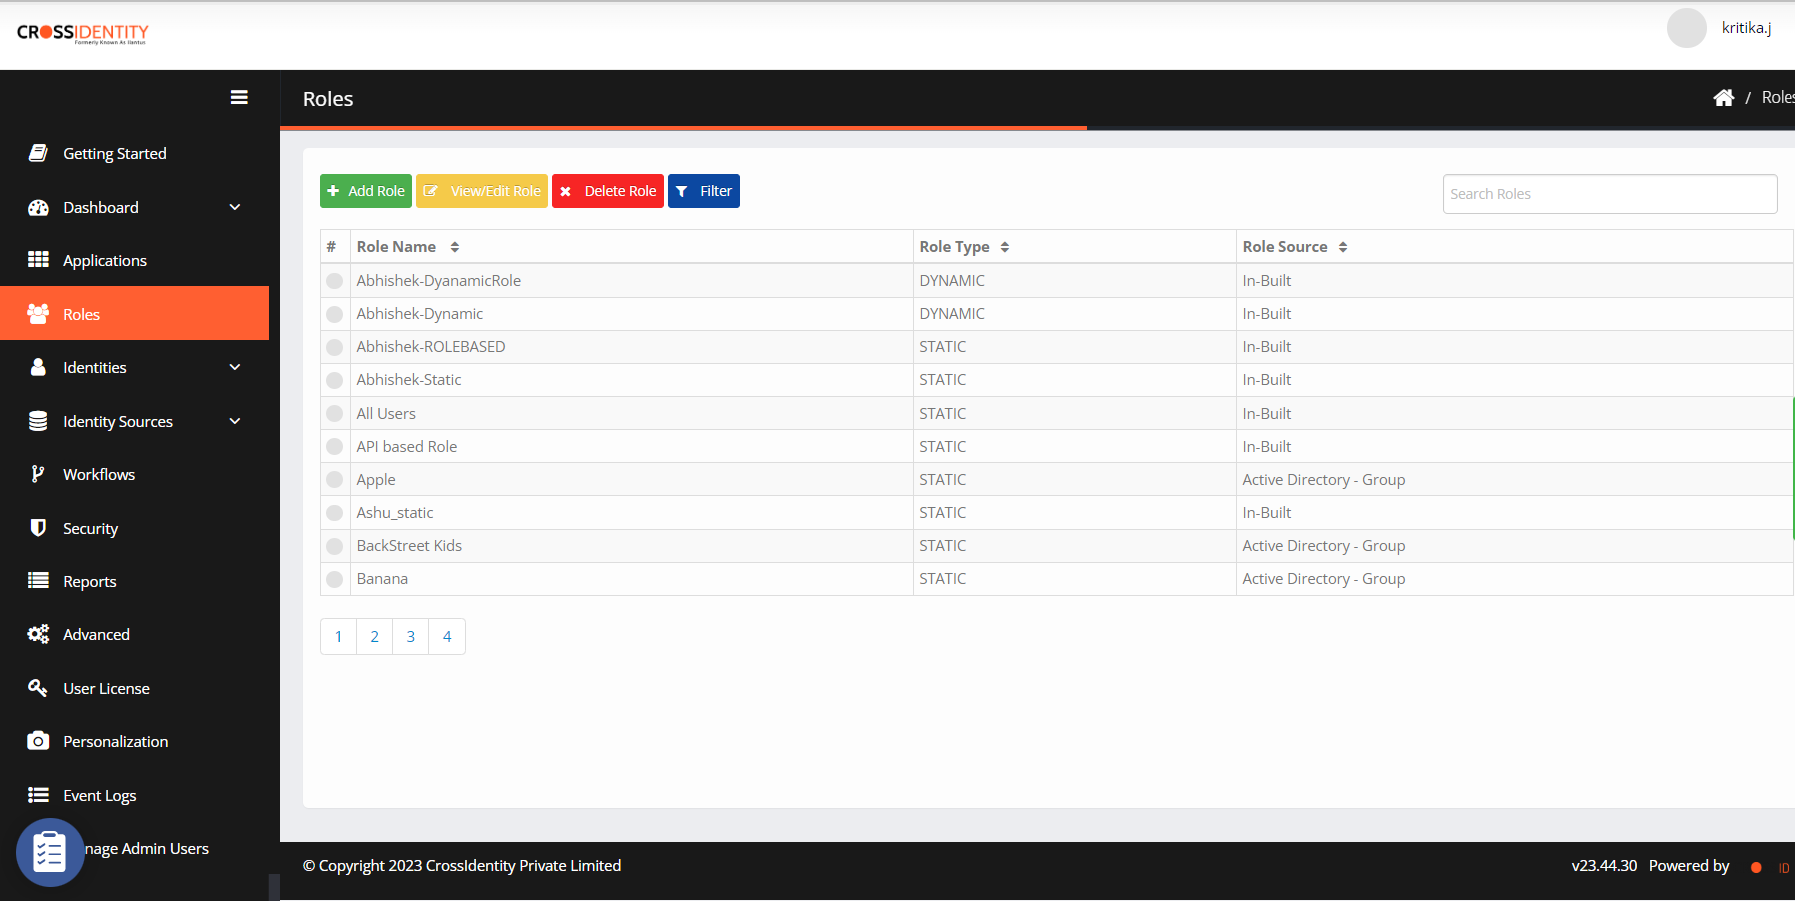
Click Add Role. The Add Role screen appears.
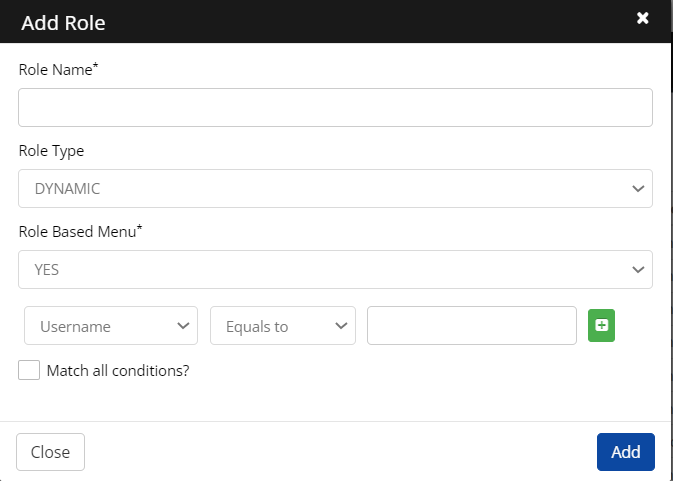
Role Name: Specify the Role Name.
Role Type: Select Dynamic from the drop-down.
Role-Based Menu:
Yes -A role cannot be mapped to any SSO/IGA applications for authorization.
No - A role can be mapped to any of the SSO/IGA applications for authorization.
Select an attribute from the drop-down. This will filter users with the same attribute and match with value.
Define the conditions:
Equals to: Check if the attribute value and user value are equal.
Not Equal to: Check if the attribute and user values are not equal, then consider it.
Starts with: Checks if the user value starts with that attribute value specified.
End with: Checks if the user valuse end with that attribute value specified, then considers it.
Greater than: Checks if the value present is greater than the specified value.
Less than: Checks if the value present is lower than the specified value.
Contains: Checks if the specified value is at least present in the user value.
Expression: Write an expression to fetch that user’s value and compare. It uses equal to here. Example: function getVal()
{
department=user.getAttribute('department');
return department;
}
Enter the string from which you want the users to be filtered.
Check the Match All Conditions check box to consider all the conditions it uses AND condition if checked otherwise, OR condition is used.
Click Add. A “Role added successfully” confirmation message appears.
Click Close.


Information:
The input for any Attribute is case-insensitive.
Configure a Dynamic Role without Role Based Menu
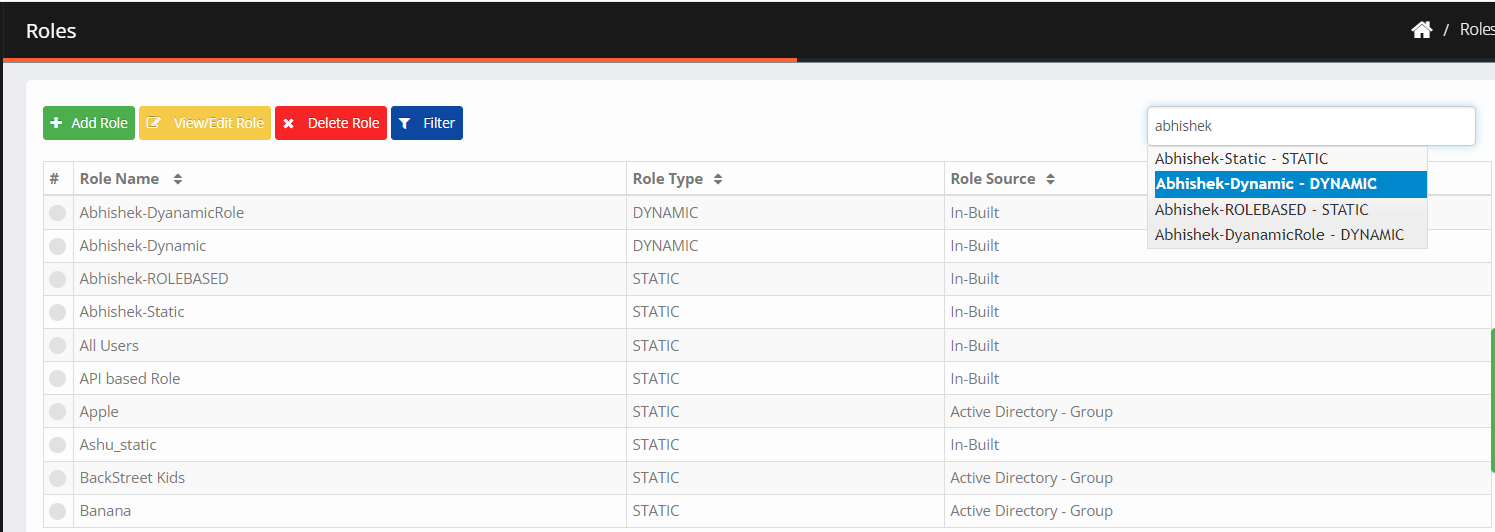
Once the role is added, search and select the role.
Role Details is the default screen.

Role Name: You can edit the existing role name.
Role Description: Provide the role explanation like what the role consists of.
Click the + icon to add attributes.
You can add attributes and define conditions as shown in the image.

Match all Conditions? : If you check the box, it enables AND logic. If unchecked, enable OR logic.
Click Save.


Role Members
Navigate to Role Members.

This shows the list of members added to the role depending on the conditions defined.

Applications
Click Applications.

This shows the list of applications added to the role depending on the conditions defined.

Configure a Dynamic Role with Role Based Menu
Once the role is added, search and select the role.
Role Details is the default screen.

Role Name: You can edit the existing role name.
Role Description: Provide the role explanation like what the role consists of.
Click the + icon to add attributes.
You can add attributes and define conditions as shown in the image.
Match all Conditions? : If you check the box, it enables AND logic. If unchecked, enable OR logic.
Click Save.


Role Members
Navigate to Role Members.
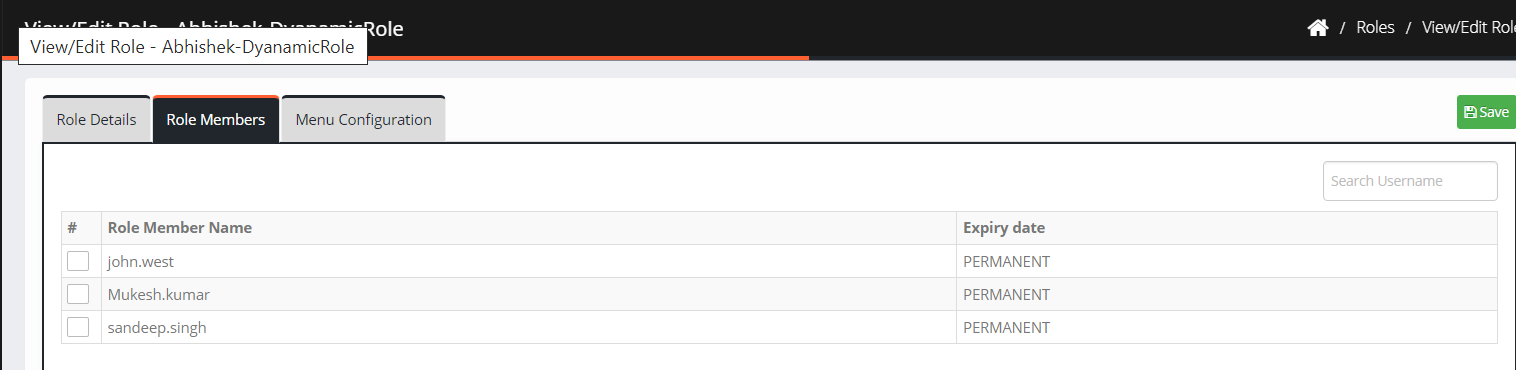
This shows the list of members added to the role depending on the conditions defined.

Information:
You can't add/remove users manually to a dynamic role. It will be done automatically, depending on the pass/fail conditions specified.
Was this article helpful?
.png)