- 24 Jun 2024
- 28 Minutes to read
- Print
- DarkLight
- PDF
CI Agent Setup
- Updated on 24 Jun 2024
- 28 Minutes to read
- Print
- DarkLight
- PDF
Overview
In this document, we will learn to set up the Cross Identity’s Agent.
CI Agent - Installation & Configuration
Note:
As per the architecture finalized, identify the server where the respective component is to be installed and configured.
H/W Specification
CI Components (Production) | Platform | Type | Count | Storage |
On-premise Agent | Windows | 4 core & 8GB RAM | 2 | 50GB |
Pre-requisites
CI URL should be accessible from the Agent server.
Communication between the Agent server and Source of Truth (Active directory) should open.
Communication to AD is with 636 ports with an SSL certificate; an AD SSL certificate is required in .cer format.
Communication to/from the Agent server to Target applications is required at the time of application integration.
Active directory details are required for configuration in IDAM.
Installation Steps
Double-click the CID_Agent_v44.3-win-x64.exe to start the CI Agent installation setup.
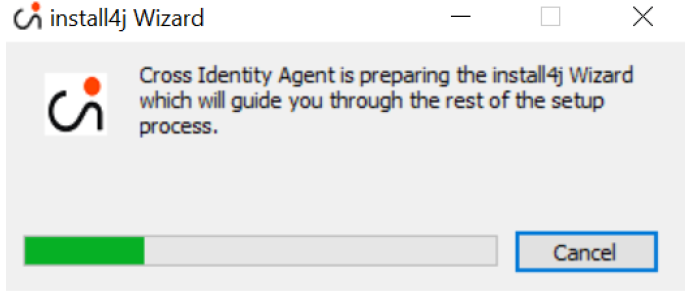
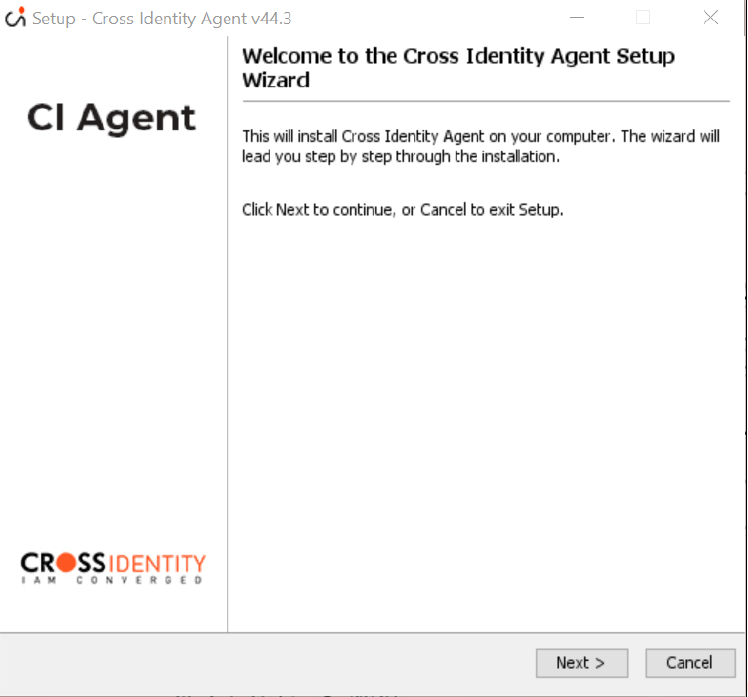
The installation wizard starts. Click Next.
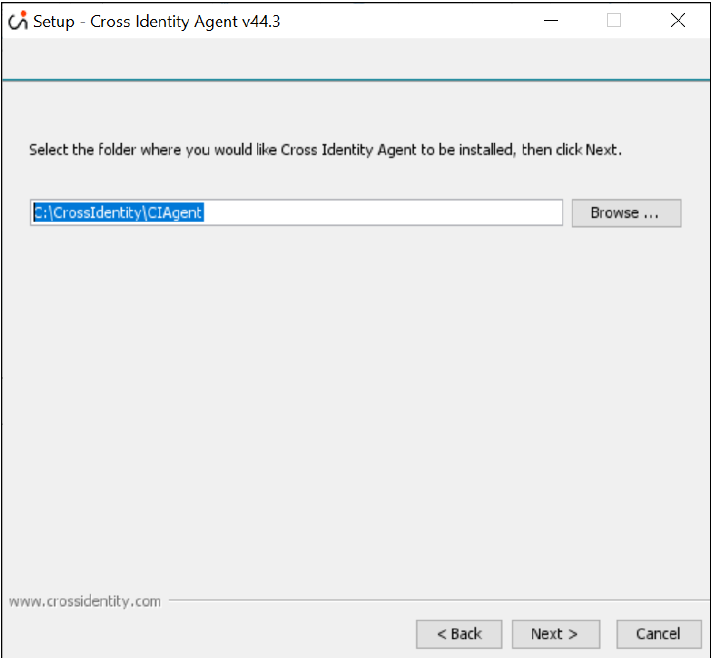
The installation folder page opens. The default installation folder is C:\CrossIdentity\CIAgent. There is no need to change the location. In case the folder is not present, it will be created automatically. Click Next.
Information:
An admin requires a Tenant ID to move further in the installation process.
How to look for Tenant ID:
Login to the Cross Identity portal. Go to Admin console.
Navigate to the Advanced tab from the main menu.
Navigate to the Download tab, you will find the Tenant ID.
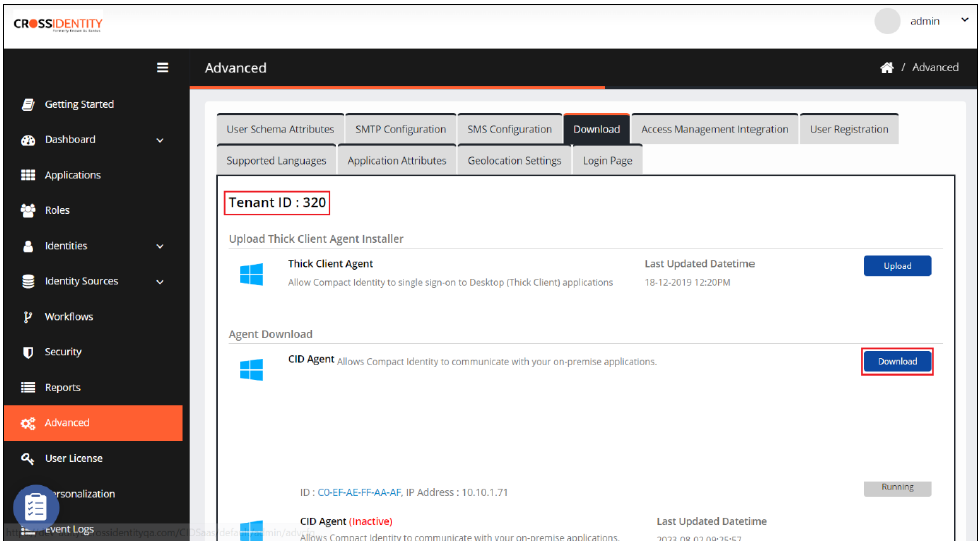
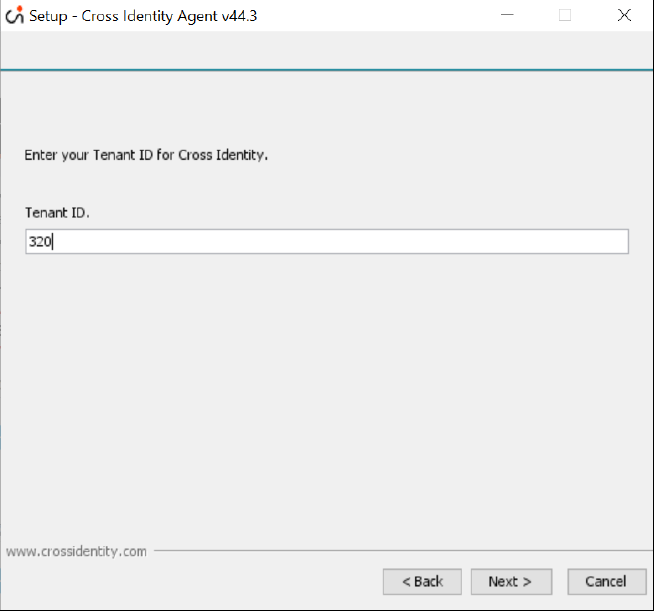
Enter the Tenant ID. Click Next.
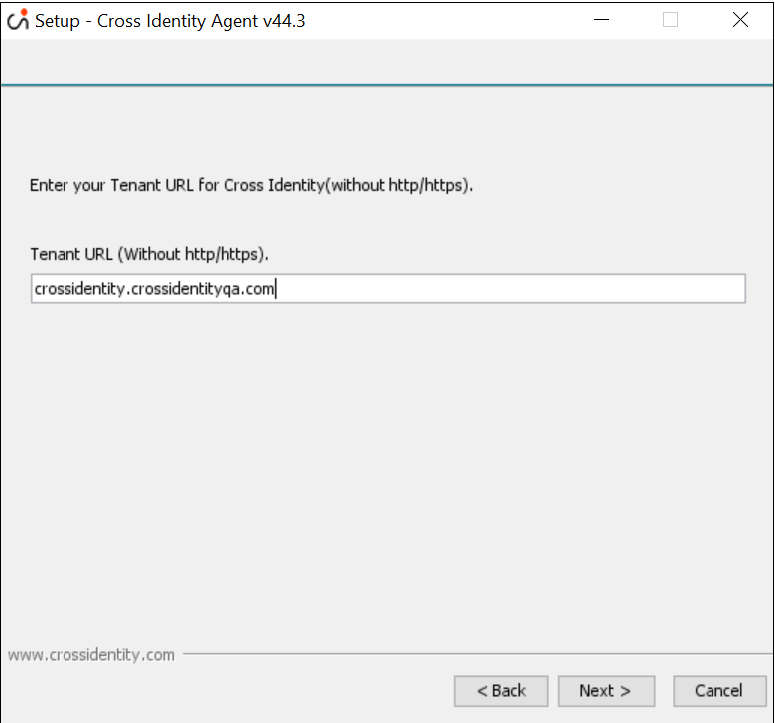
Enter the URL without HTTP/HTTPS (CI Tenant URL is the URL provided by the Cross Identity Team for logging into the Cross Identity Application).
Information:
Please do not enter HTTP or HTTPS predecessors in the URL.
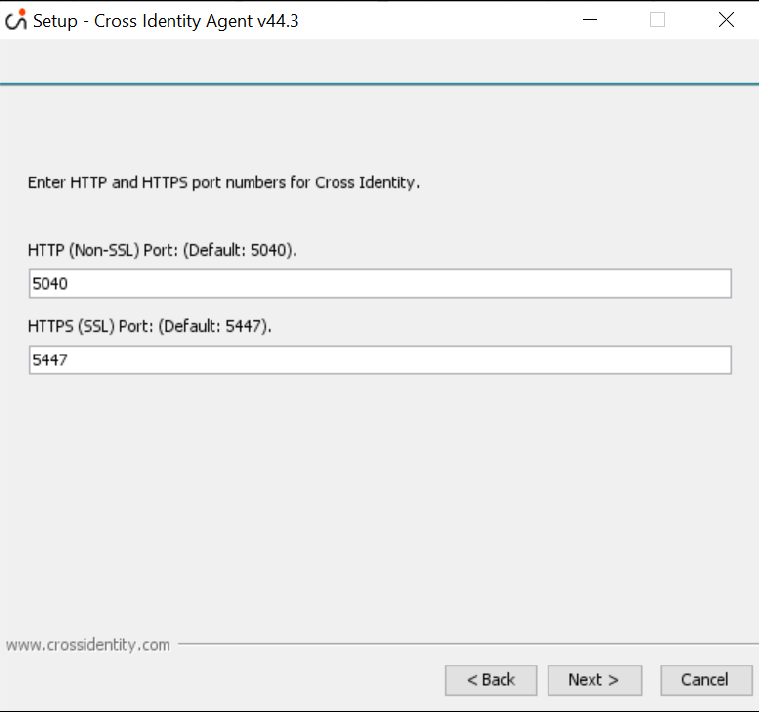
In HTTP, enter the port number. The port number should be accessible on the CI server. It must not be blocked. The range of ports lies between 1024 to 49151. Click Next.
Information:
Please remember or copy the HTTP (Non-SSL) Port, and this will be used to complete the registration after the installation.
Here, it will choose the program’s shortcut. Click Next to prepare the installation process.
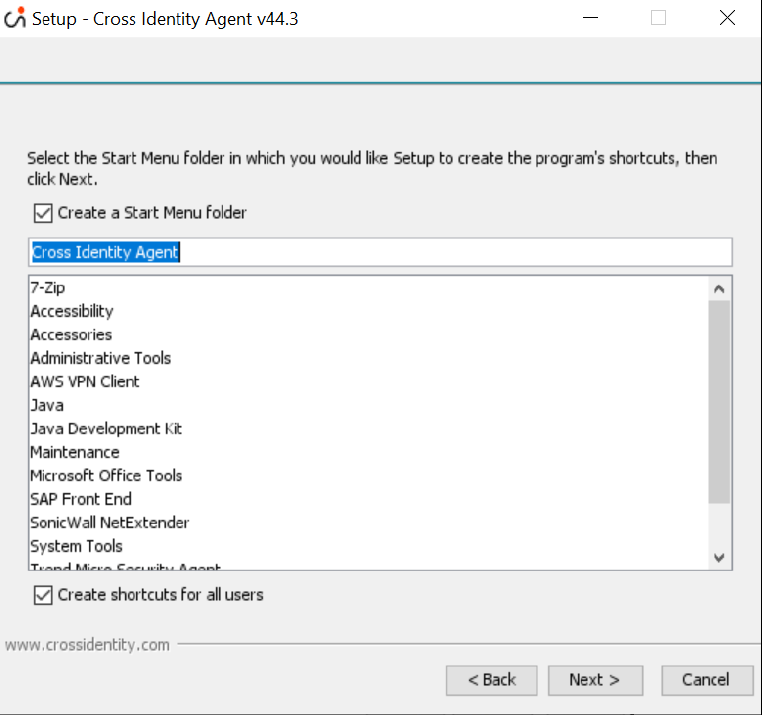
If the installer prompts the Setup screen, click Yes to All to proceed.
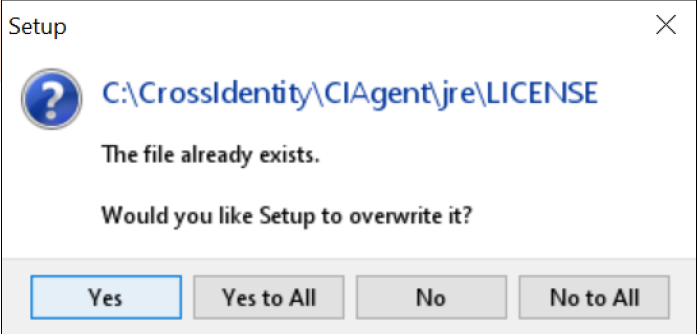
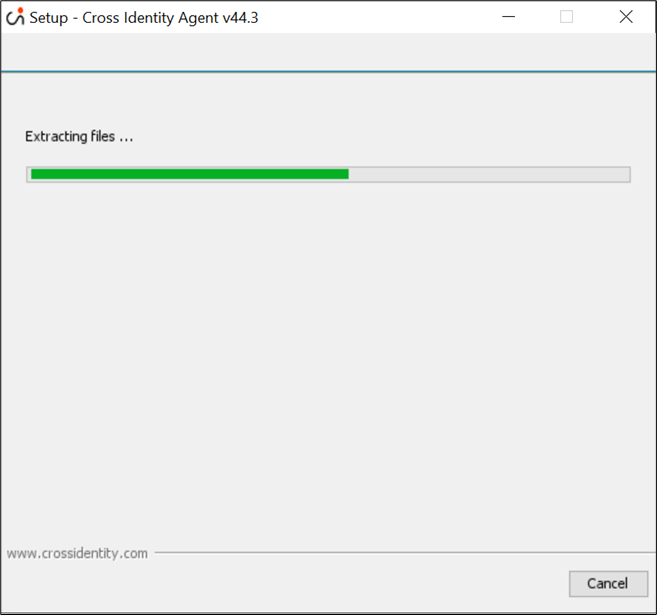
If the above Setup screen does not appear, the installation continues.
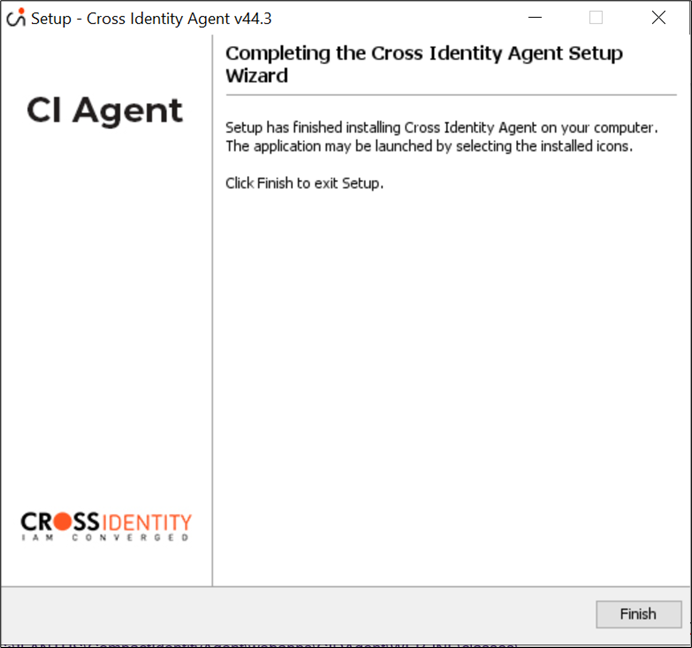
The Cross Identity Agent Setup Wizard displays the information of the complete installation. Click Finish to exit.
Configuration Steps
The following are the steps to install Agent server setup:
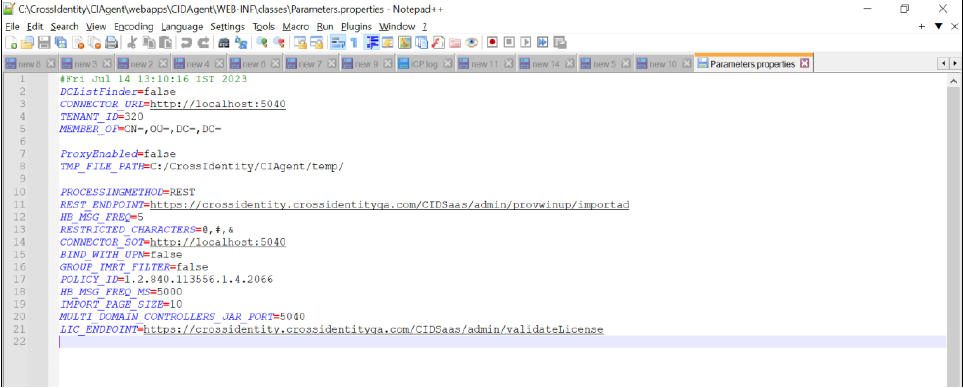
Once the installation completes, go to the following directory and verify the parameters.properties file: C:\CrossIdentity\CIAgent\webapps\CIDAgent\WEB-INF\classes

Below, is how the parameters.properties file look:
Note:
Load balancer (LB) has to be configured with the nodes mentioned in Apache setup. The respective node IP and Port (Apache listening port: 80) of Apache web servers must be shared with the LB team so that LB can be configured. Once the LB is configured, the LB URL should be shared by the LB team.
If SSL is enabled on the load balancer (listening port: 443), then the SSL certificate must be deployed on the LB server as well.
This will be the URL of the CI and the same URL has to be updated in the database as well.
If LB is not present, and Apache is configured, then Apache will act as LB; and CI URL will be the Apache server IP and port.
If both Apache and LB are not present then the CI URL will be the Tomcat IP and Port.b.
If you log in via domain-joined users, ensure the permission is set in the parameters.properties file for the domain-joined user.
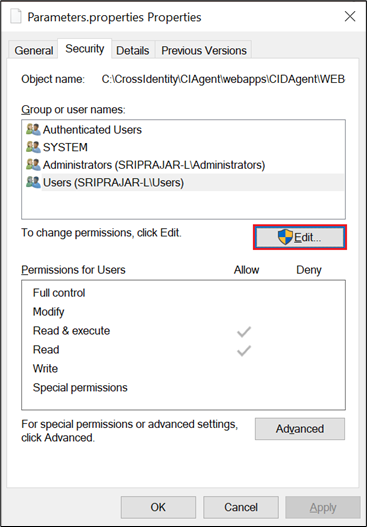
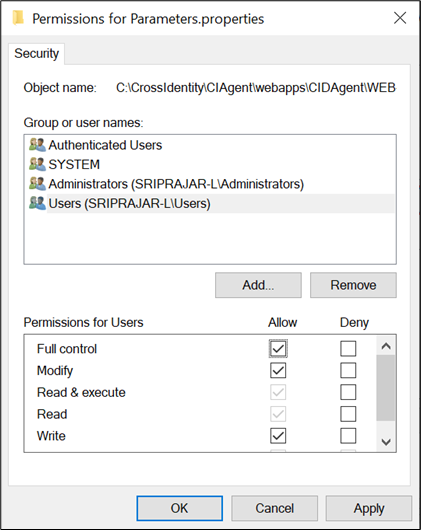
Open a browser and type your Agent URL, localhost and port.
Example: http://localhost:8080/CIDAgent/
The port is the same port you have added while installing the agent.
Note:
The IP address and the port may vary depending on whether CI is installed in a standalone tomcat or Apache Web Server or Load balancer.
If LB is not present, and Apache is configured, then Apache will act as LB; and CIDAgent URL will be the Apache server IP and port.
If both Apache and LB are not present, then the CIDAgent URL will be the Tomcat IP and Port.
Load balancer (LB) must be configured with the nodes mentioned in Apache setup. The respective node IP and Port (Apache listening port: 80) of Apache web servers must be shared with the LB team so that LB can be configured. Once the LB is configured, the LB URL should be shared by the LB team.
If SSL is enabled on the load balancer (listening port: 443), then the SSL certificate must be deployed on the LB server as well.
This will be the URL of the CIDAgent and the same URL has to be updated in the database as well.
Parameters.properties file
Parameters.properties | |||
|---|---|---|---|
Sr. No. | Property Name | Description | Possible Values |
1. | TENANT_ID | Represents the unique identifier for the tenant (organization). Tenant identifier is used during user and group import from the directory and while changing user passwords. | This can be retrieved from the admin portal of the particular tenant under the Advanced section's Download tab. |
2. | LKEY | The license key given during registration of the CIDAgent will be encoded and automatically generated as the LKEY parameter value. | Auto-generated |
3. | LIC_ENDPOINTURL | It’s the endpoint URL for license validation of the tenant registered in CIDAgent. | https://crossidentity.crossidentityqa.com/CIDSaas/admin/validateLicense |
4. | Agent_ID | In systems with multiple components or services, each agent may have a unique Agent_ID to facilitate communication, coordination, and tracking. | Auto-generated |
5. | CONNECTOR_URL | This is the parameter name, indicating it is associated with the URL of a connector. This URL is for IGA operations. | http://localhost\:3030 |
6. | TEMP_FILE_PATH | It is a parameter name, indicating a path for temporarily storing data while importing users and groups from the directory. | C:/CrossIdentity/CIAgent/temp/ |
7. | REST_ENDPOINT | This is the parameter name, indicating it is associated with the URL of a REST endpoint. Endpoint for making HTTP requests. | https://crossidentity.crossidentityqa.com/CIDSaas/admin/provwinup/importad |
8. | PROCESSING METHOD | Method used for importing directory data, such as REST, file-based, or RabbitMQ. | REST (or) File-based (or) RabbitMQ |
9. | DCListFinder | Used for multi-domain controller environments; lists domain controllers. The accompanying JAR file includes the port number and SSL configuration. | true (or) false |
10. | MEMBER _OF | It is a parameter name, indicating it is associated with the LDAP attributes used to represent group memberships. Use to import users from specific groups. | E.g., CN\=,OU\=,DC\=,DC\= |
11. | ProxyEnabled | This is the parameter name, indicating a flag for enabling proxy connection to CI, whether the use of a proxy server is enabled or disabled. | true (or) false |
12. | HB_MSG_FREQ | Heartbeat messages are signals sent at regular intervals to indicate that a system or component is operational and alive. This parameter is to check the frequency of heartbeats for checking the license in seconds | Eg: 5 |
13. | RESTRICTED_CHARACTERS | If RESTRICTED _CHARACTERS is set to @, #, & it means that the system restricts the use of the characters "@" (at symbol), "#" (hash/pound), and "&" (ampersand) in certain contexts. | List of restricted characters. (e.g., @, \, #, &) |
14. | BIND_WITH_UPN | The parameter indicates whether the UPN is different from the combination of sAMAccountName and domainName. | true (or) false |
15. | GROUP_IMRT_FILTER | The parameter likely indicates whether a group import filter is enabled or disabled. Group import filtering is a mechanism that allows selective import of users from groups | true (or) false |
16. | POLICY_ID | Policy IDs are used in the integration of systems and services. Identifier for enforcing password history during password reset. | Auto generated |
17. | HB_MSG_FREQ_MS | Heartbeat messages are signals sent at regular intervals to indicate that a system or component is operational and alive. This parameter is to check the frequency of heartbeats for checking the license in milliseconds. | Eg: 5 |
18. | MULTI_DOMAIN_CONTROLLERS_JAR_PORT | This is the parameter name indicating the port number associated with the JAR file for managing multi-domain controllers. The port number on which the JAR file service is running or accessible. | Port number. Eg:3030 |
19. | IMPORT_PAGE_SIZEPage | This is the parameter name indicating the size or number of accounts required per page while importing users and groups from the directory. | Eg: 10 |
How to locate License Key and License URL?
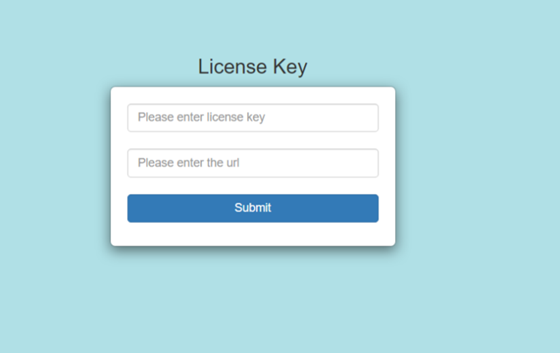
License Key: Go to the User License tab of Cross Identity.
License URL: It is the Cross Identity URL.
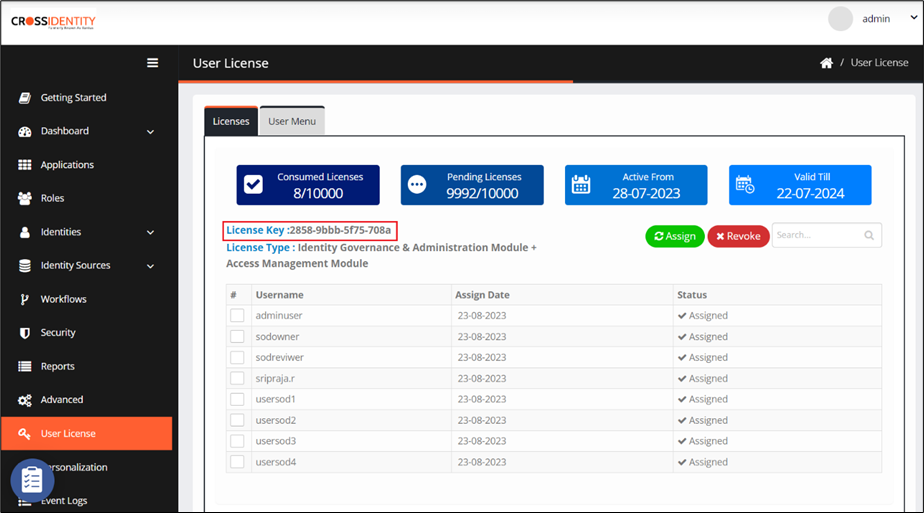
Enter the license key and license URL and click Submit.
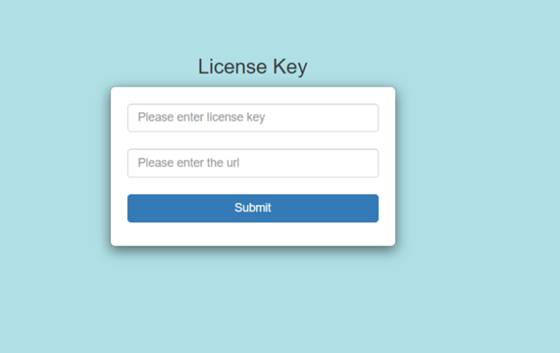
Once submitted, it will display the License and Agent details.
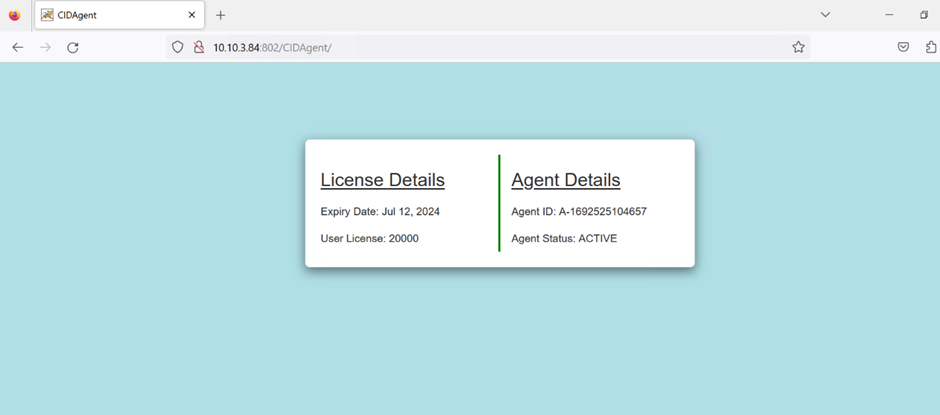
The CIDAgent is now successfully registered with the Tenant.
There are three ways to validate whether the Client Installer is installed correctly on the system.
Open a browser, type localhost:<portnumber>/CIDAgent and enter.
If you see the below page, it implies that agent services are running.
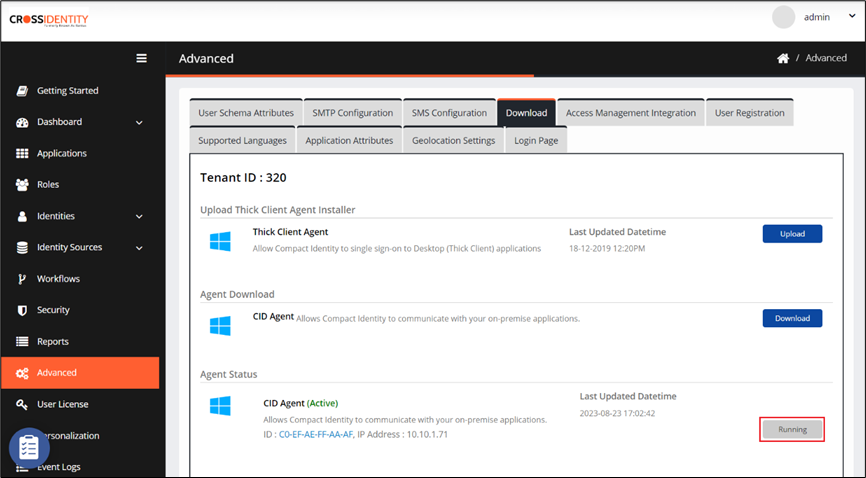
By verifying Download in Cross Identity:
Login to Cross Identity and go to the Admin Console.
Navigate to the Advanced menu.
Go to the Download tab and look for the Agent status.
Open Services application on your system.
Look for CID On-Prem Agent Service.
Set JVM heap size
For enhanced performance and resource optimization, we kindly ask that you ensure the following JVM heap sizes on a specific node:
Minimum JVM Heap Size: 512MB
Maximum JVM Heap Size: 2048MB
To make this change:
Go to the following location in the CIAgent folder: C:\CrossIdentity\CIAgent\bin\
Open the CIDOnPremAgent_V44.3w.exe file.
Go to the Java tab and increase the initial and maximum memory pool.
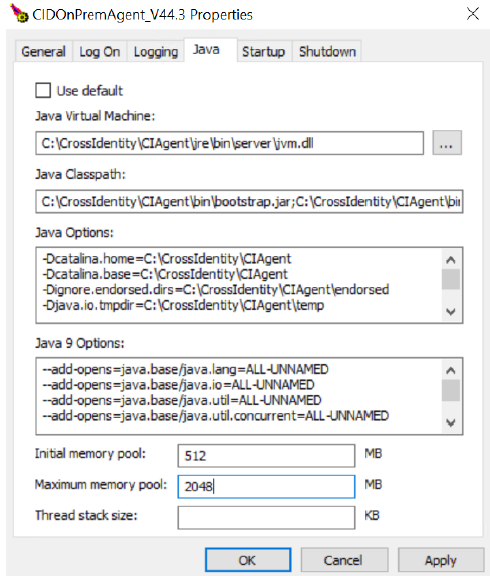
These guidelines will contribute significantly to the overall efficiency and consistency of our services.
Outcome
After following this document, CIDAgent will be installed and setup. With this, all the IGA functionalities can be performed.
.png)


.png)